Run Mr Job Upload Jar File to Hdfs
Create & Execute your First Hadoop MapReduce Project in Eclipse
A step-by-pace guide for creating a Hadoop MapReduce Projection in Java

This article volition provide you the footstep-by-stride guide for creating Hadoop MapReduce Project in Java with Eclipse. The article explains the consummate steps, including project cosmos, jar cosmos, executing application, and browsing the project issue.
Let u.s.a. now kickoff building the Hadoop MapReduce WordCount Projection.
Hadoop MapReduce Projection in Java With Eclipse
Prerequisites:
- Hadoop 3: If Hadoop is not installed on your system, then follow the Hadoop three installation guide to install and configure Hadoop.
- Eclipse: Download Eclipse
- Java 8: Download Java
Here are the steps to create the Hadoop MapReduce Project in Coffee with Eclipse:
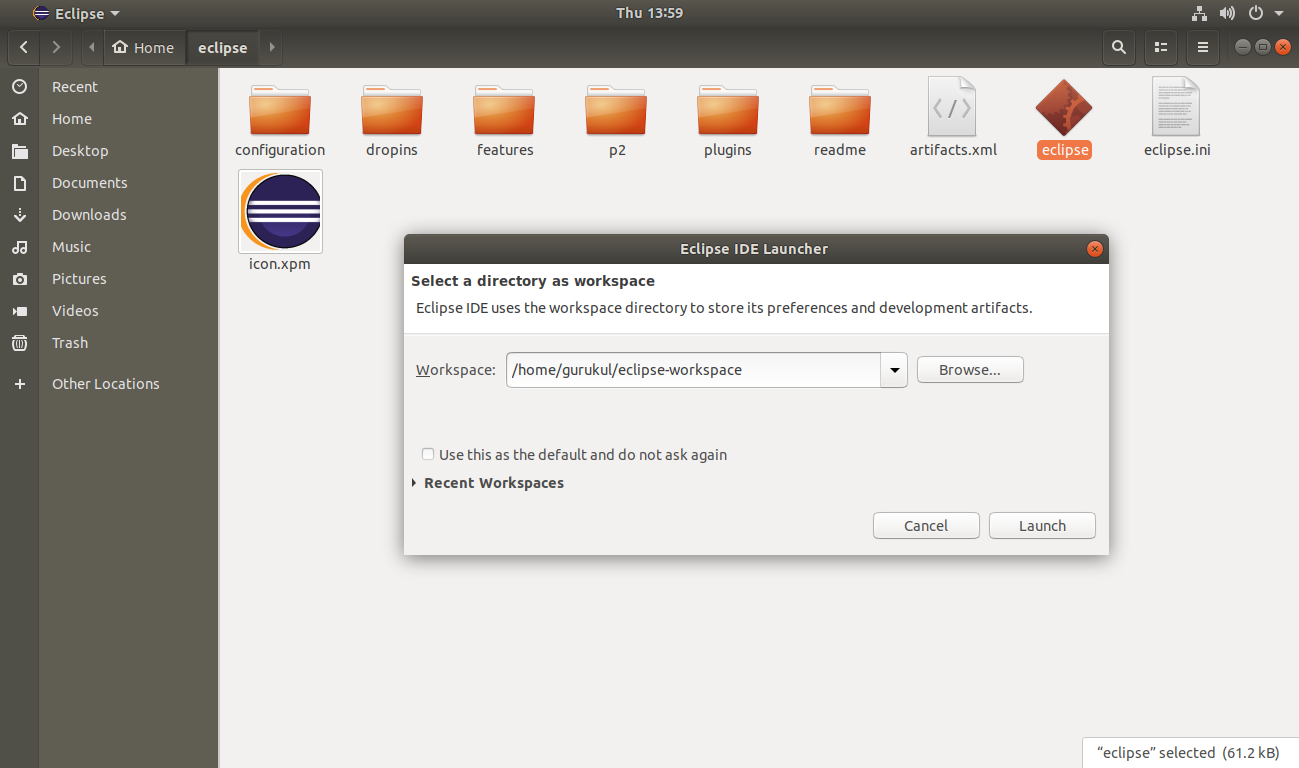
Step i. Launch Eclipse and set up the Eclipse Workspace.
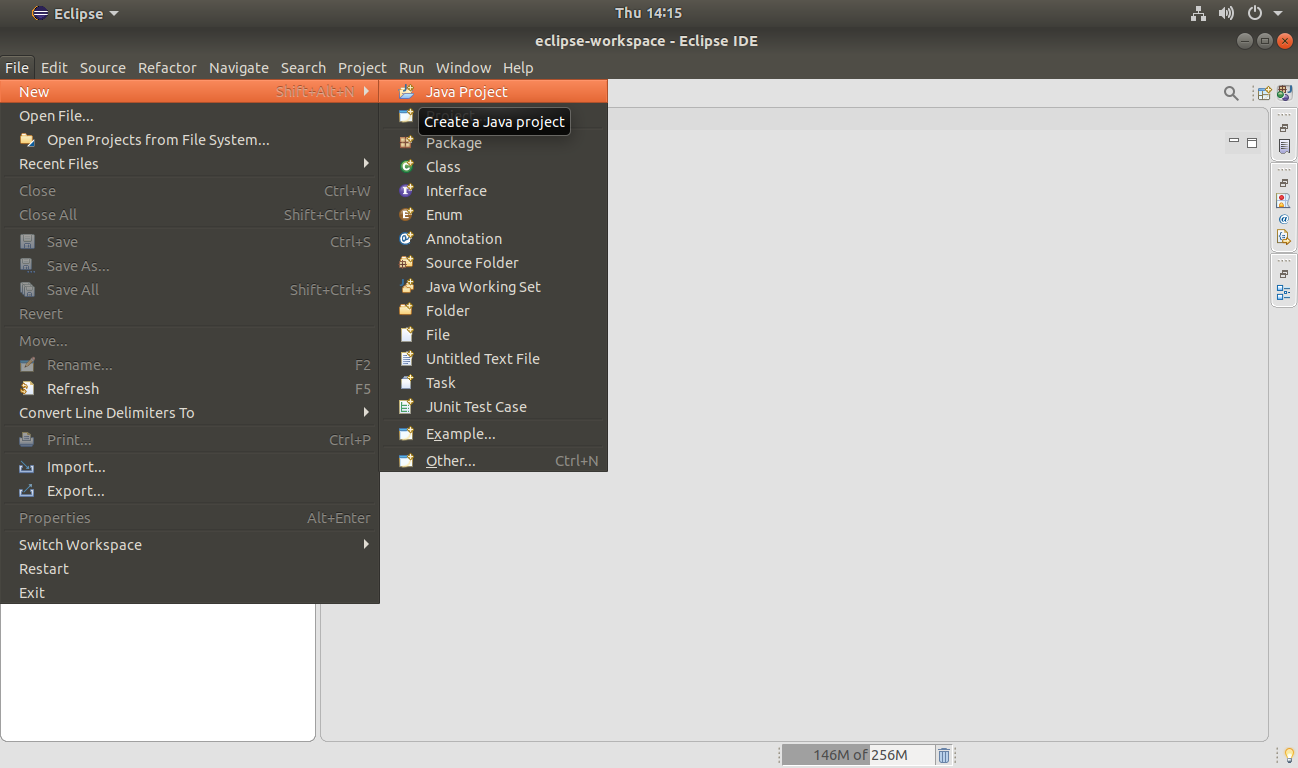
Step two. To create the Hadoop MapReduce Project, click on File >> New >> Coffee Project.
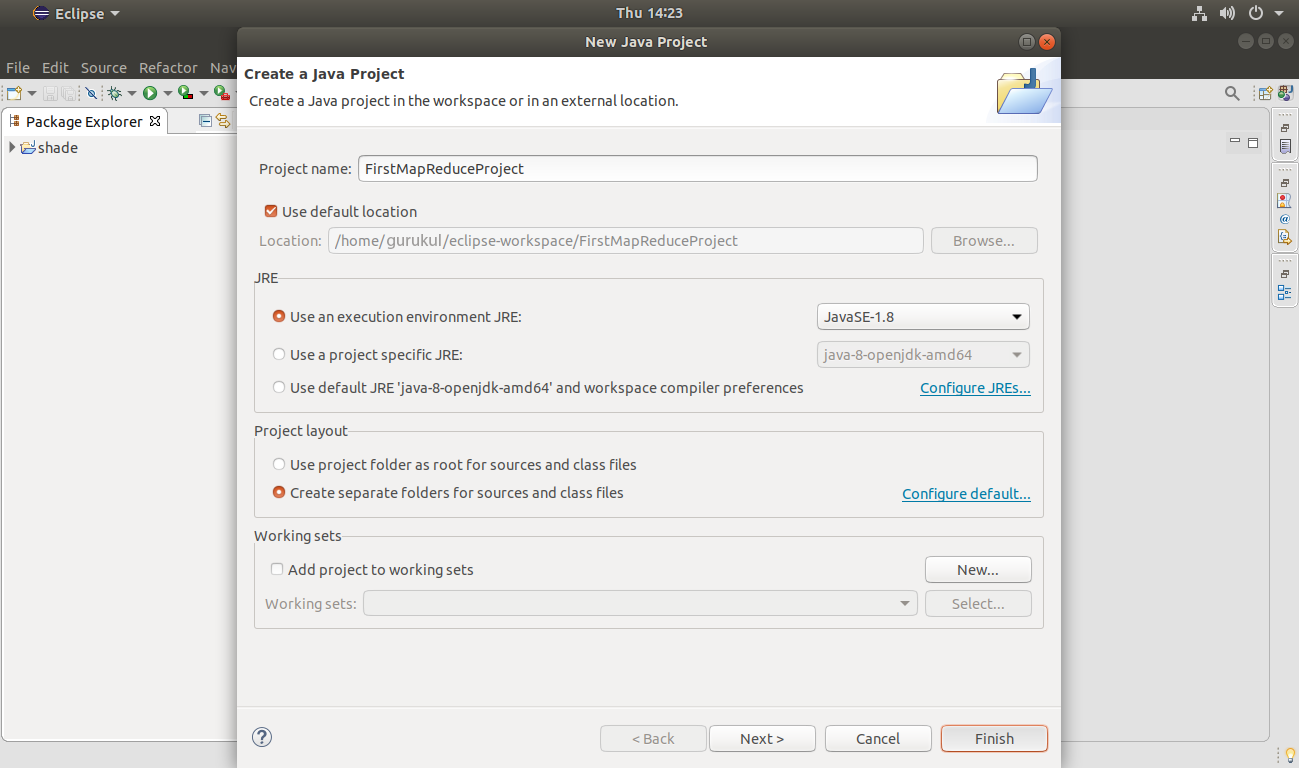
Provide the Project Name:
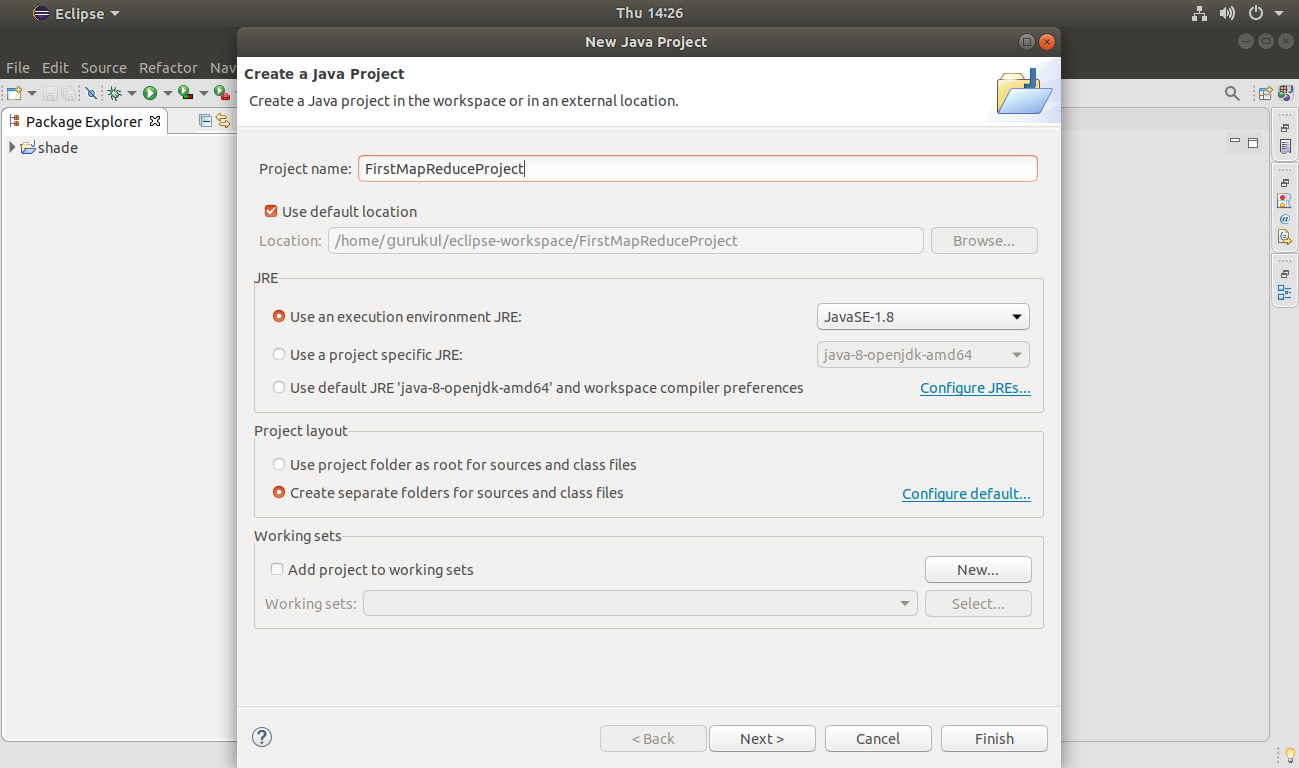
Click Finish to create the projection.
Pace 3. Create a new Package right-click on the Project Name >> New >> Packet.
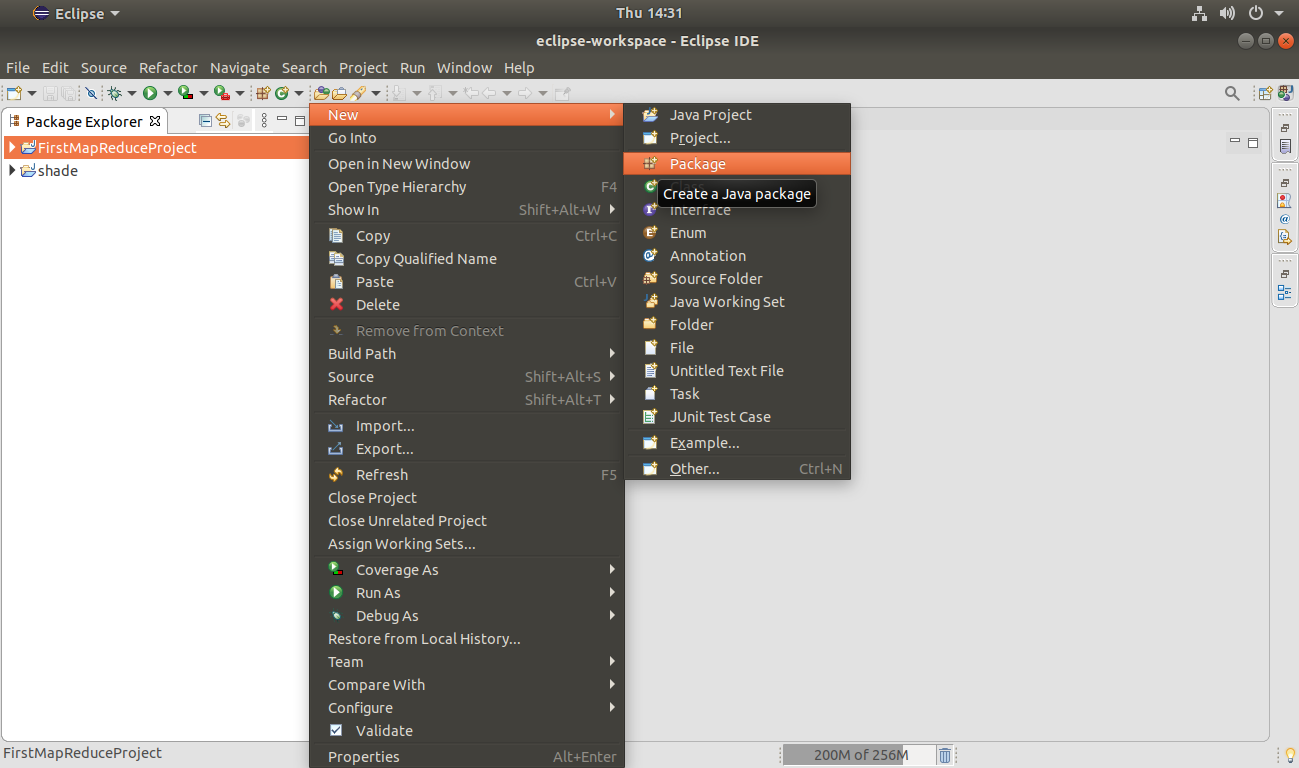
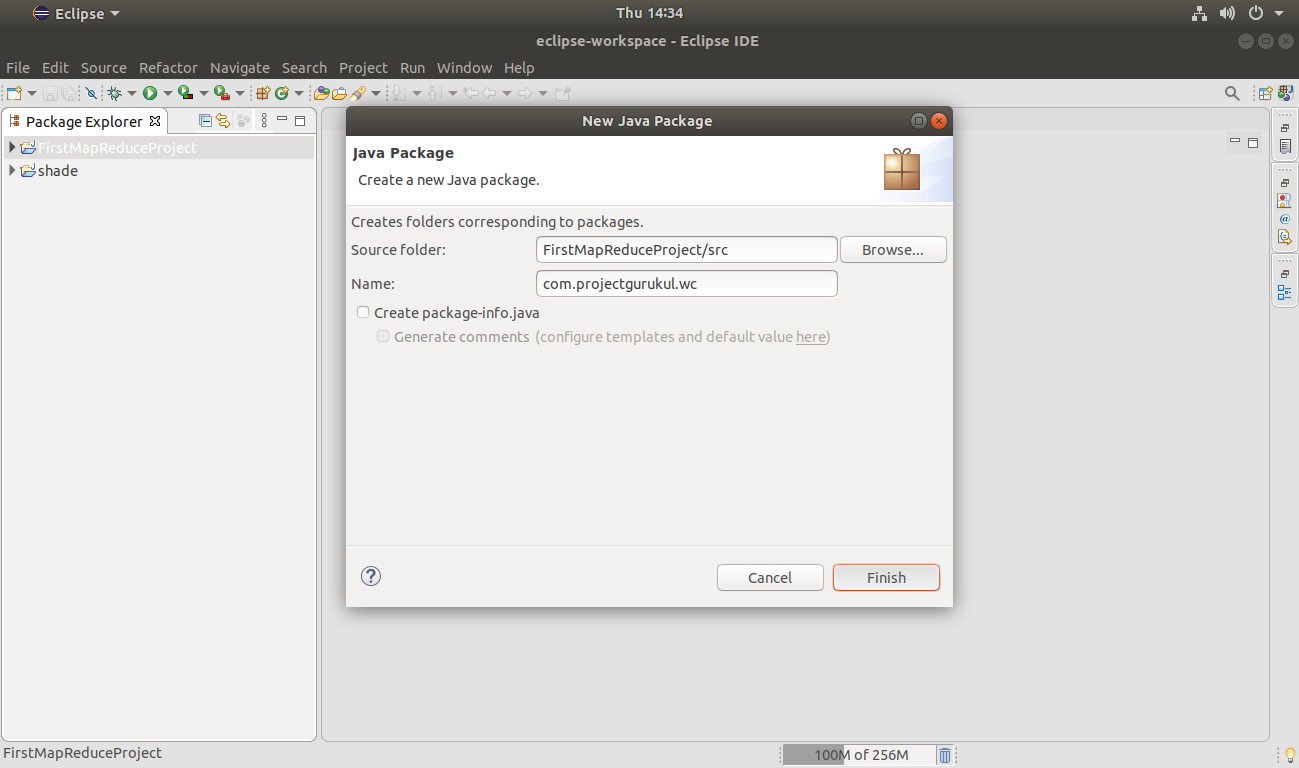
Provide the package name:
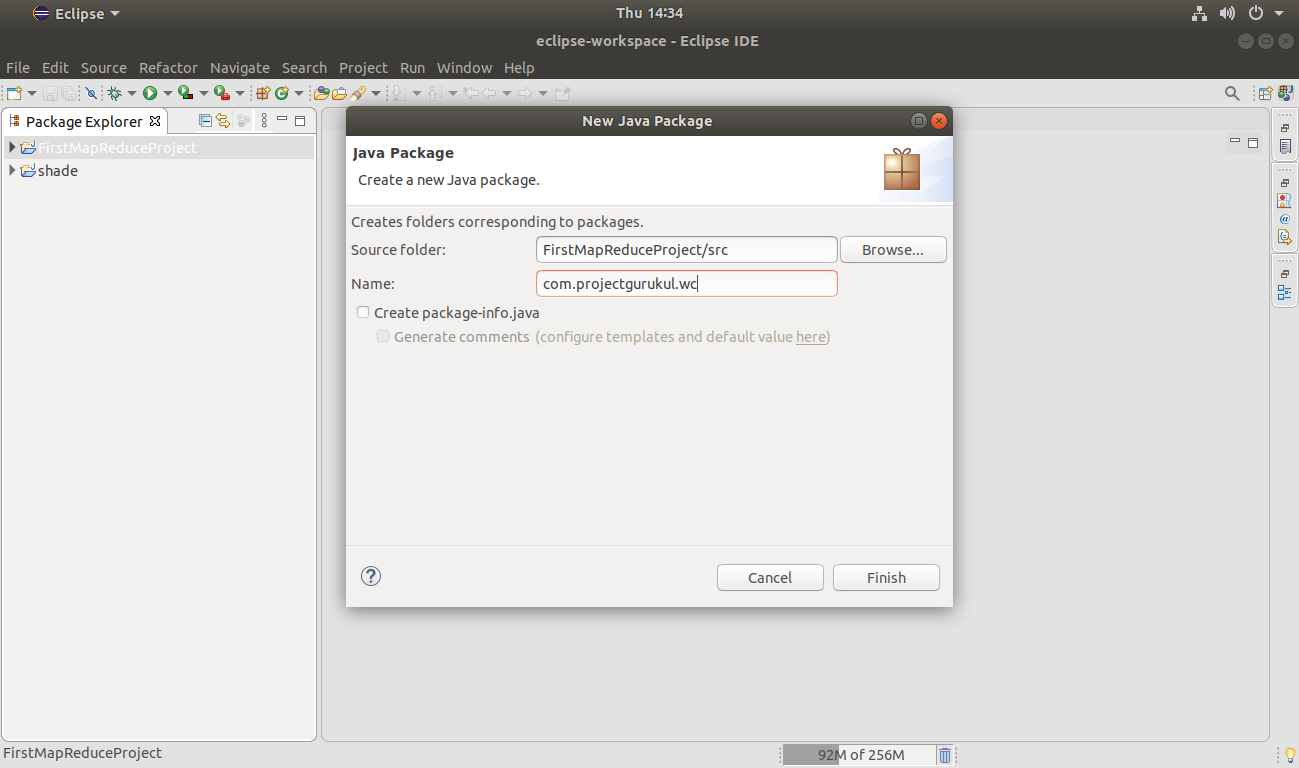
Click End to create the package.
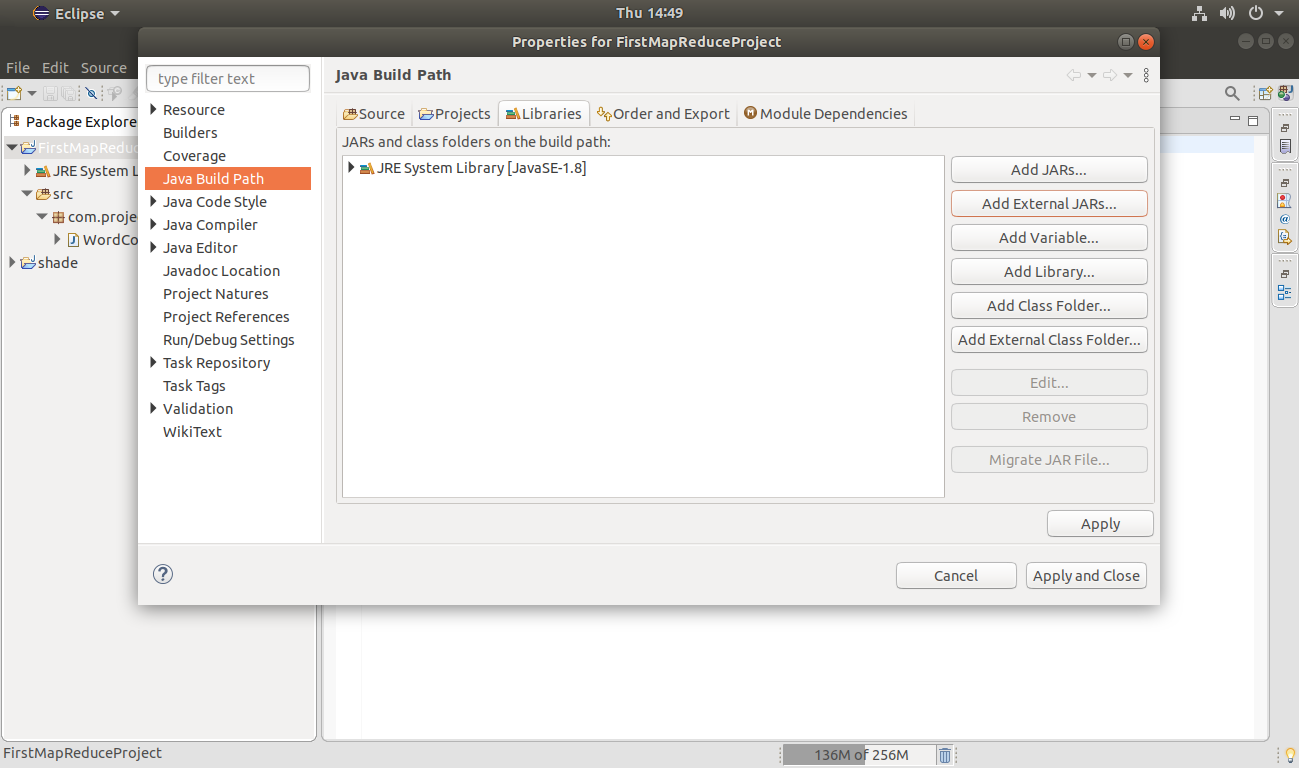
Step 4. Add the Hadoop libraries (jars).
To do then Right-Click on Project Name >>Build Path>> configure Build Path.
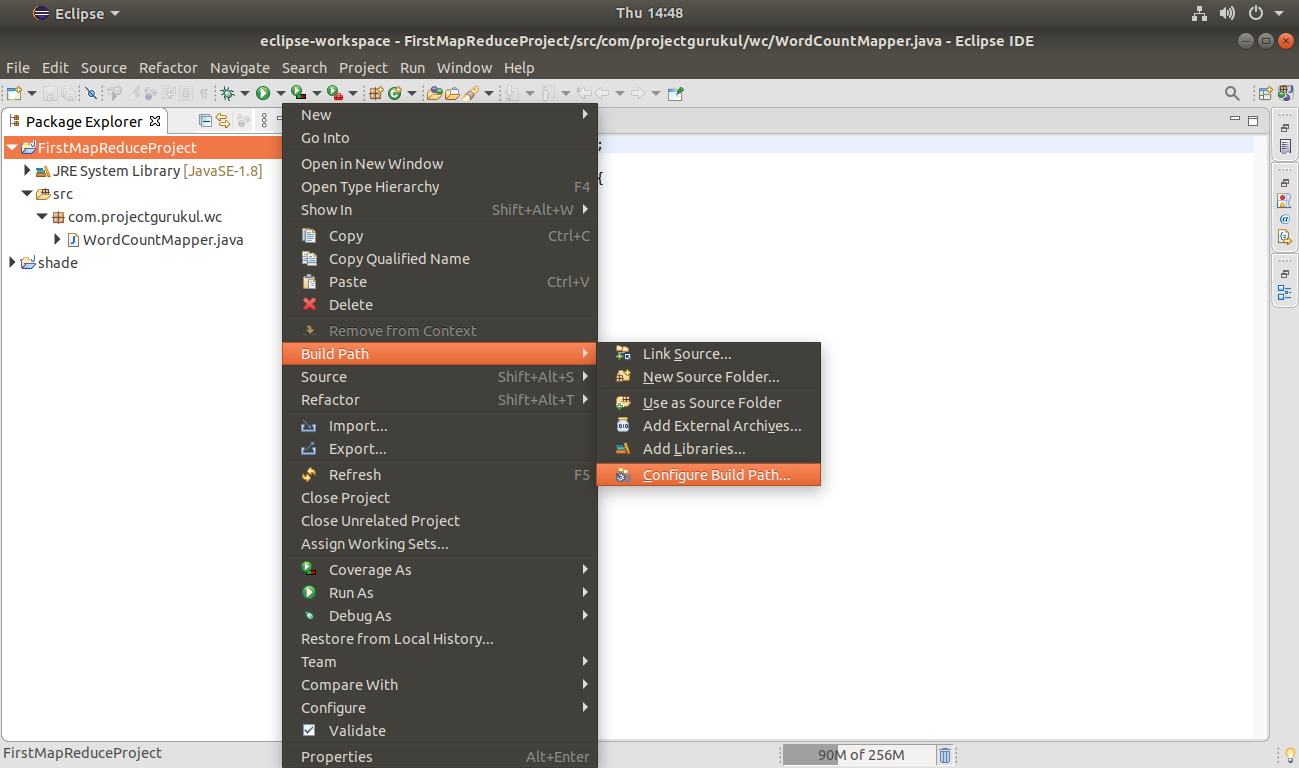
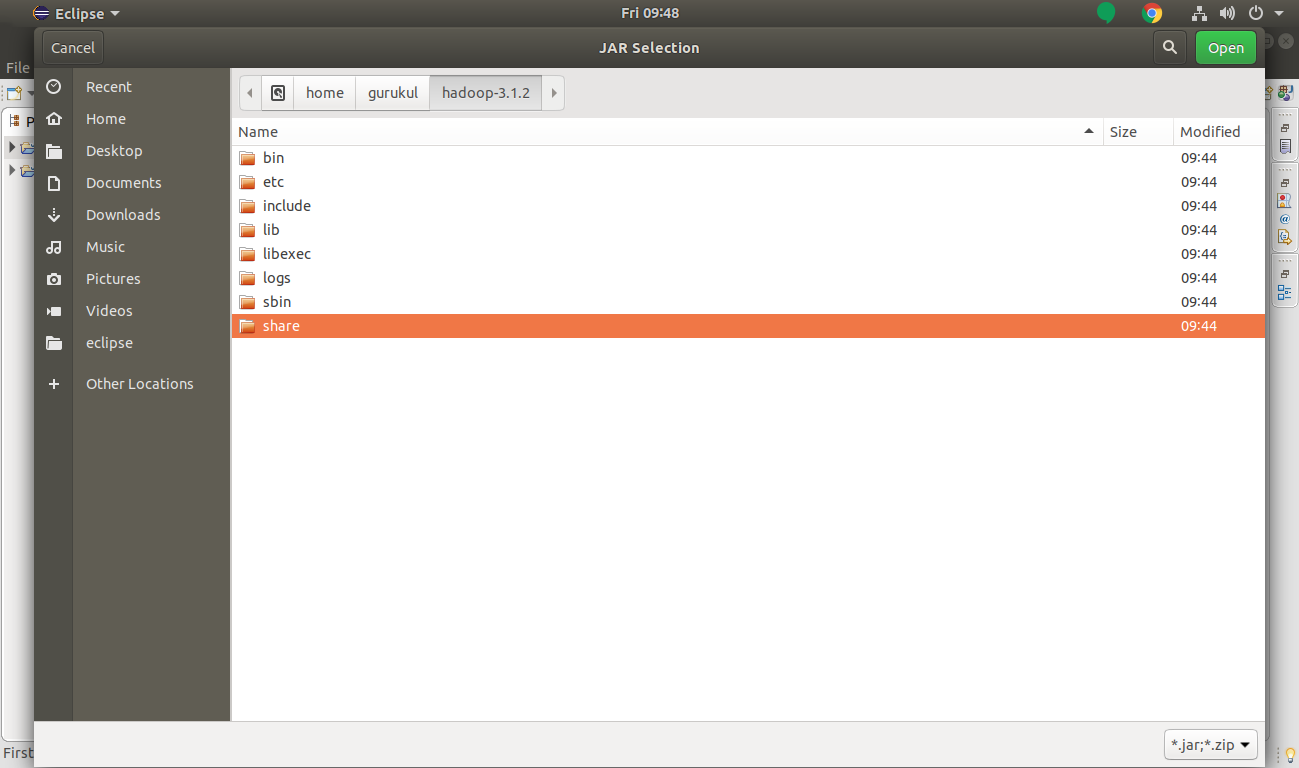
Add the External jars.
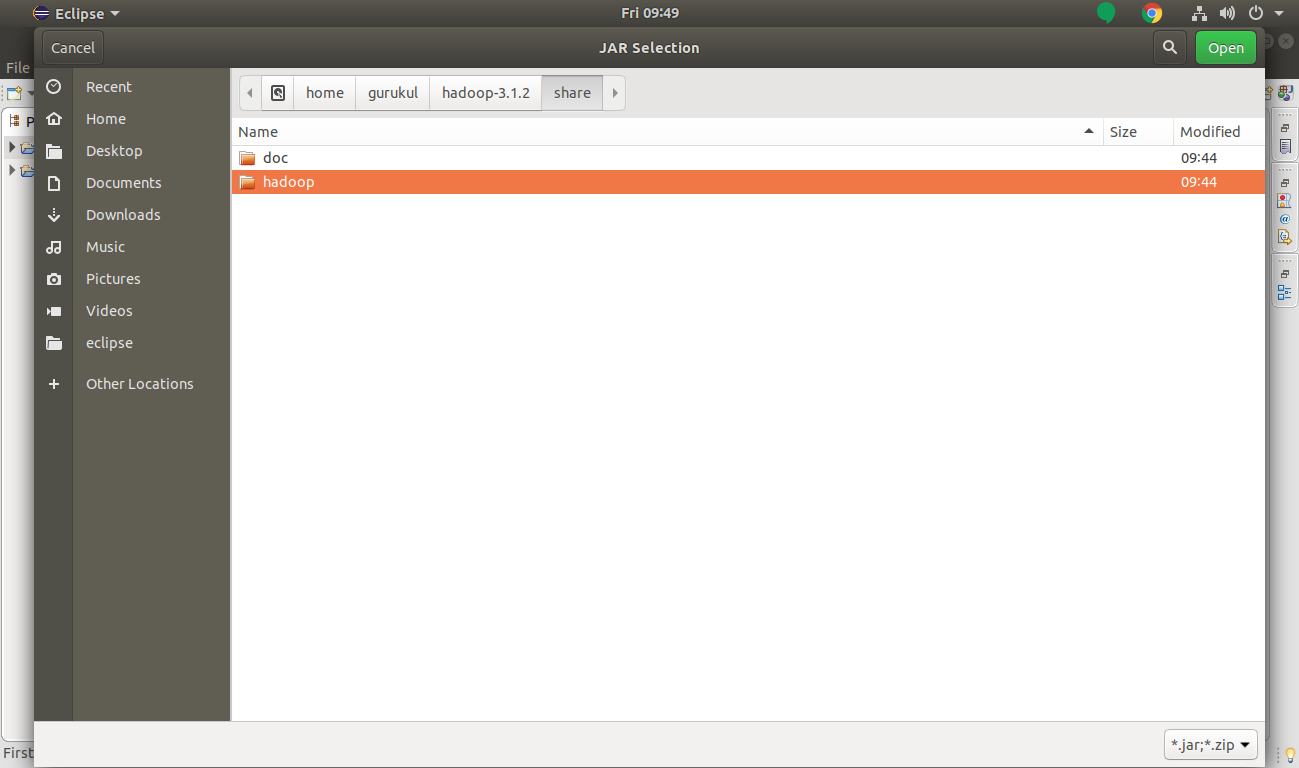
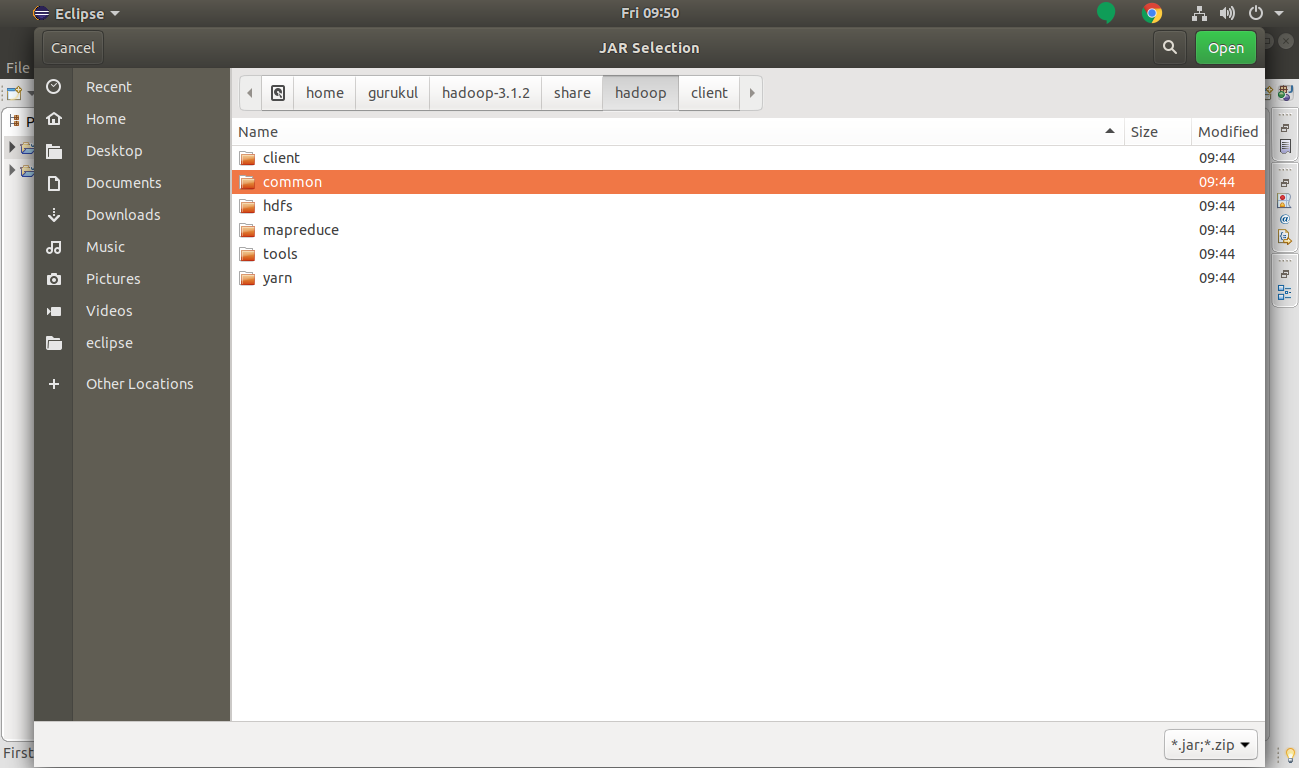
For this go to hadoop-three.1.ii>> share >> hadoop.
Now we will motion to share >> Hadoop in Hadoop MapReduce Project.
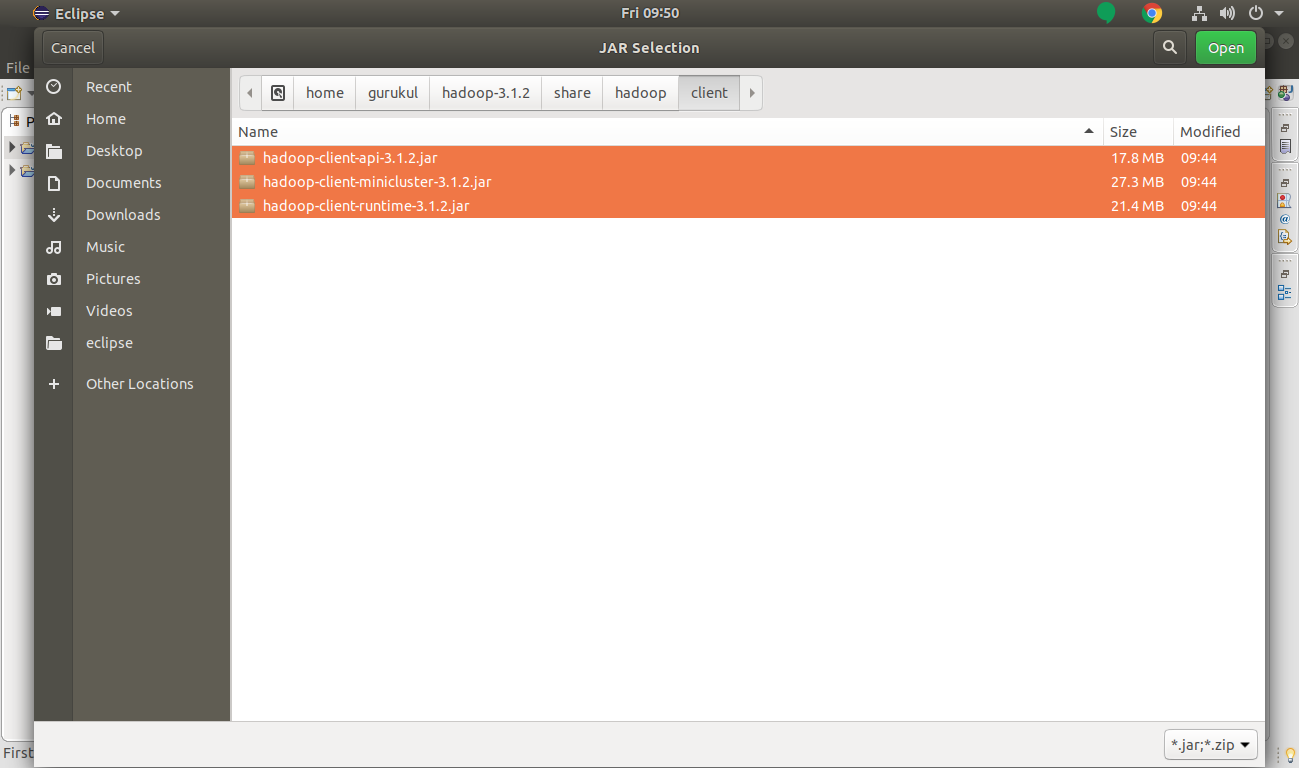
A. Add the client jar files.
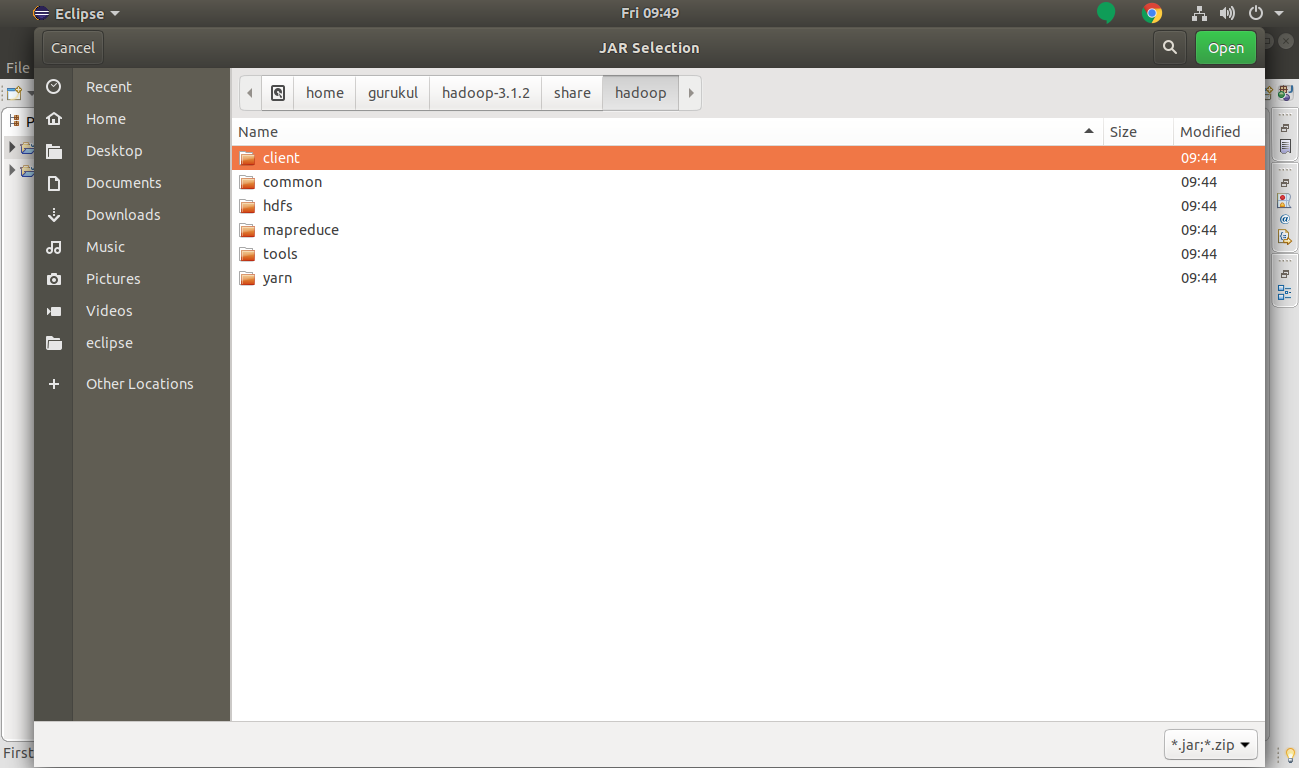
Select client jar files and click on Open.
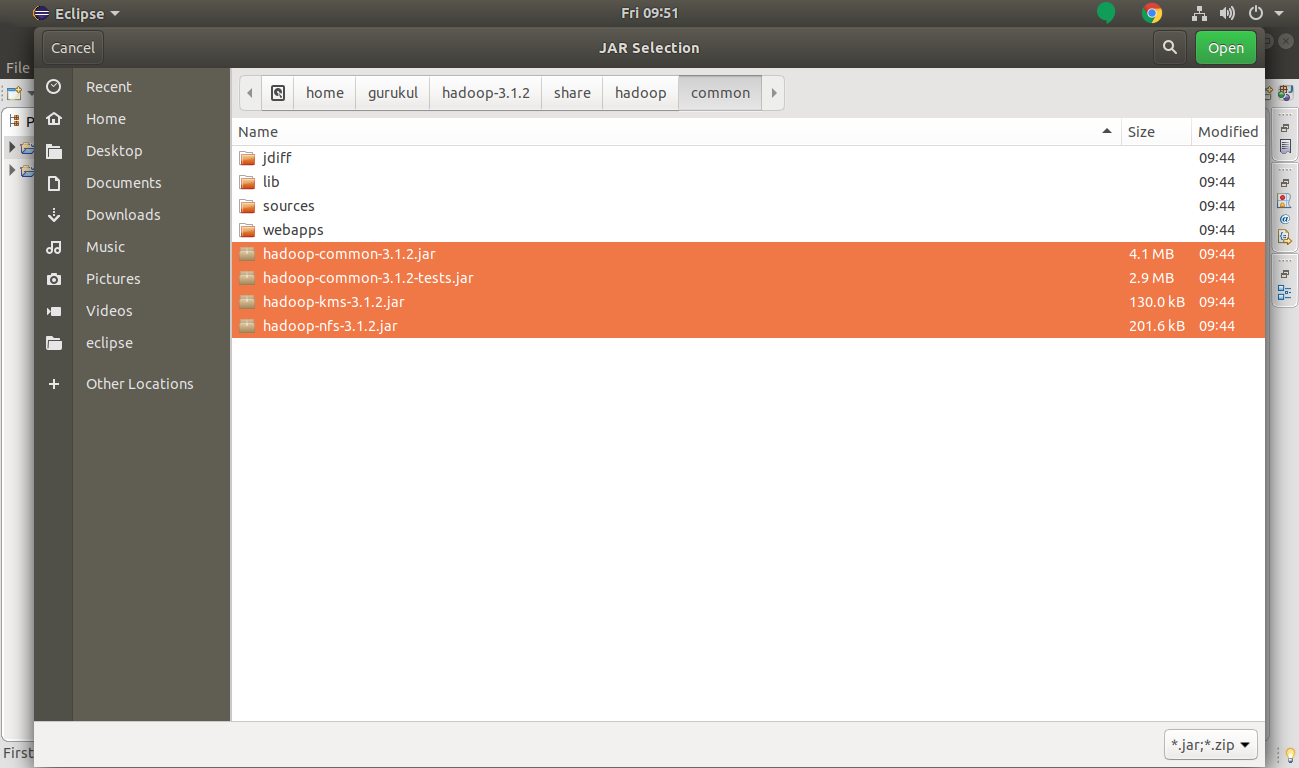
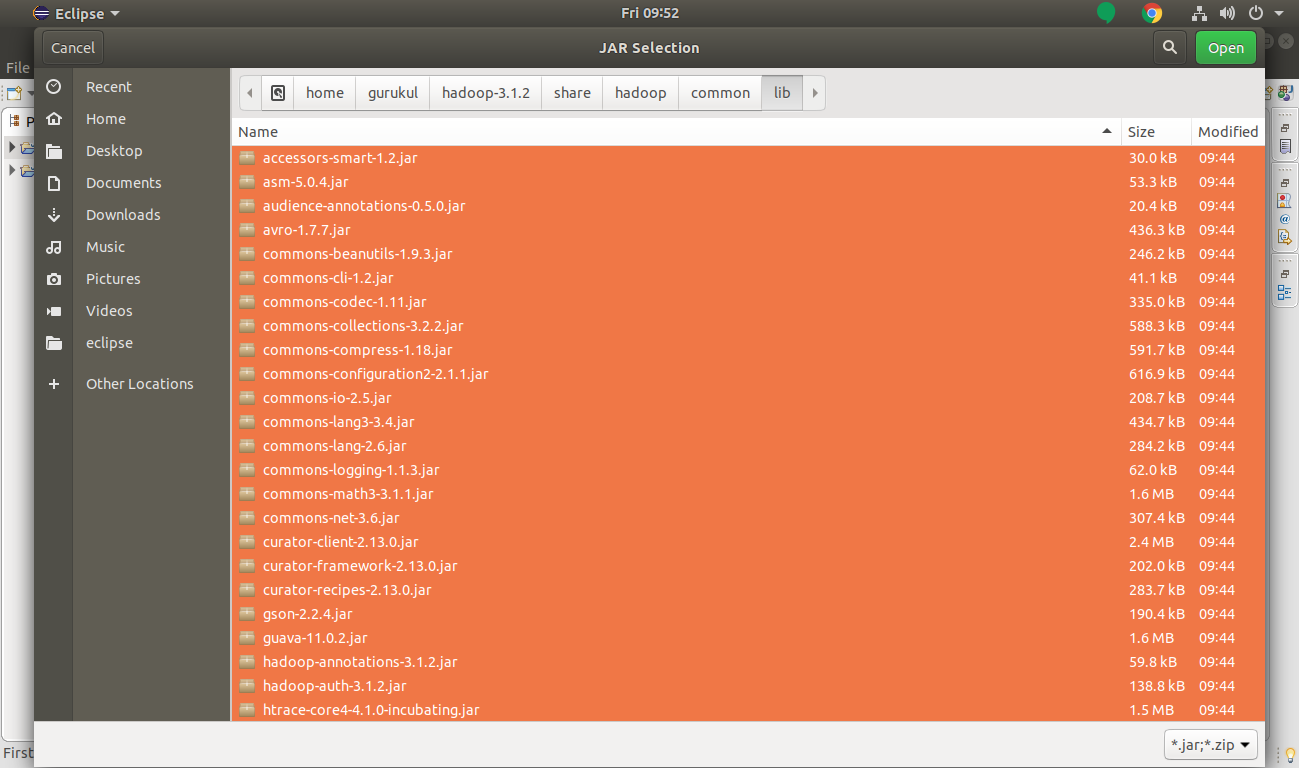
B. Add common jar files.
Select common jar files and Open up.
Also, add mutual/lib libraries.
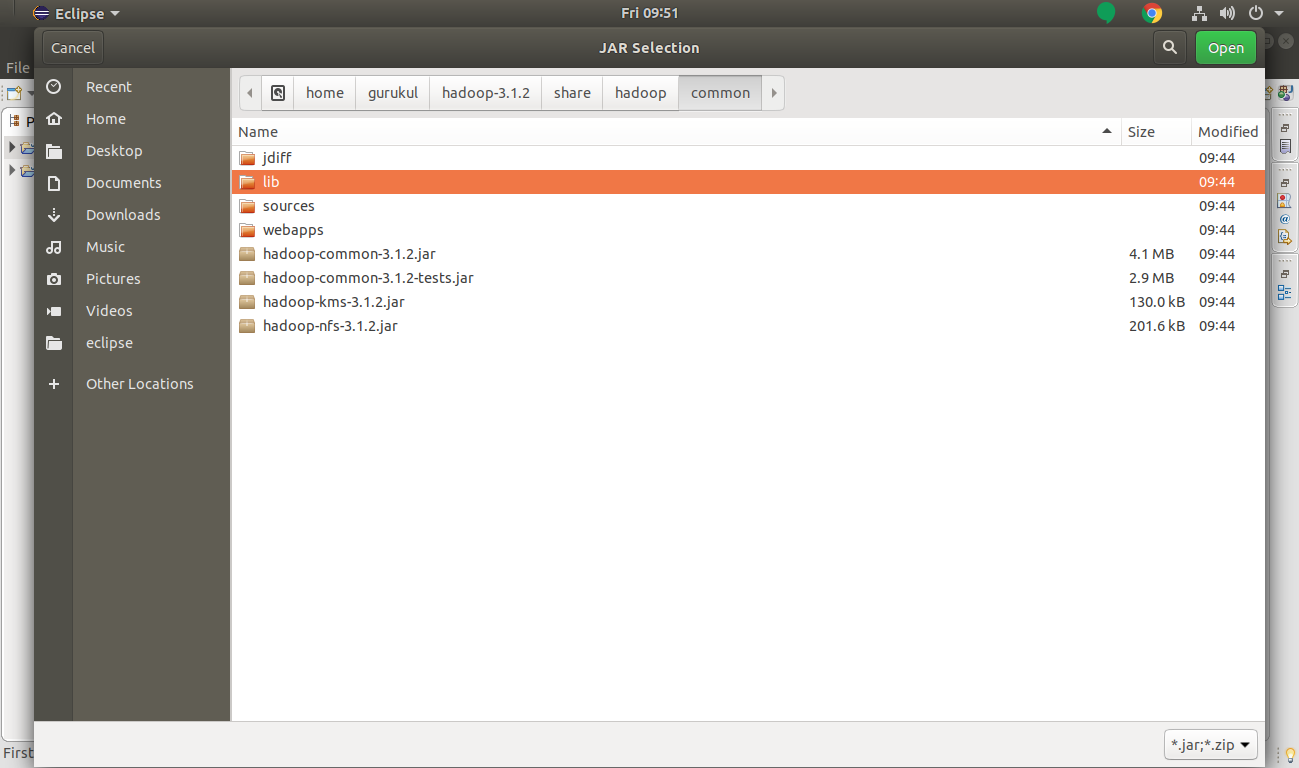
Select all common/lib jars and click Open up.
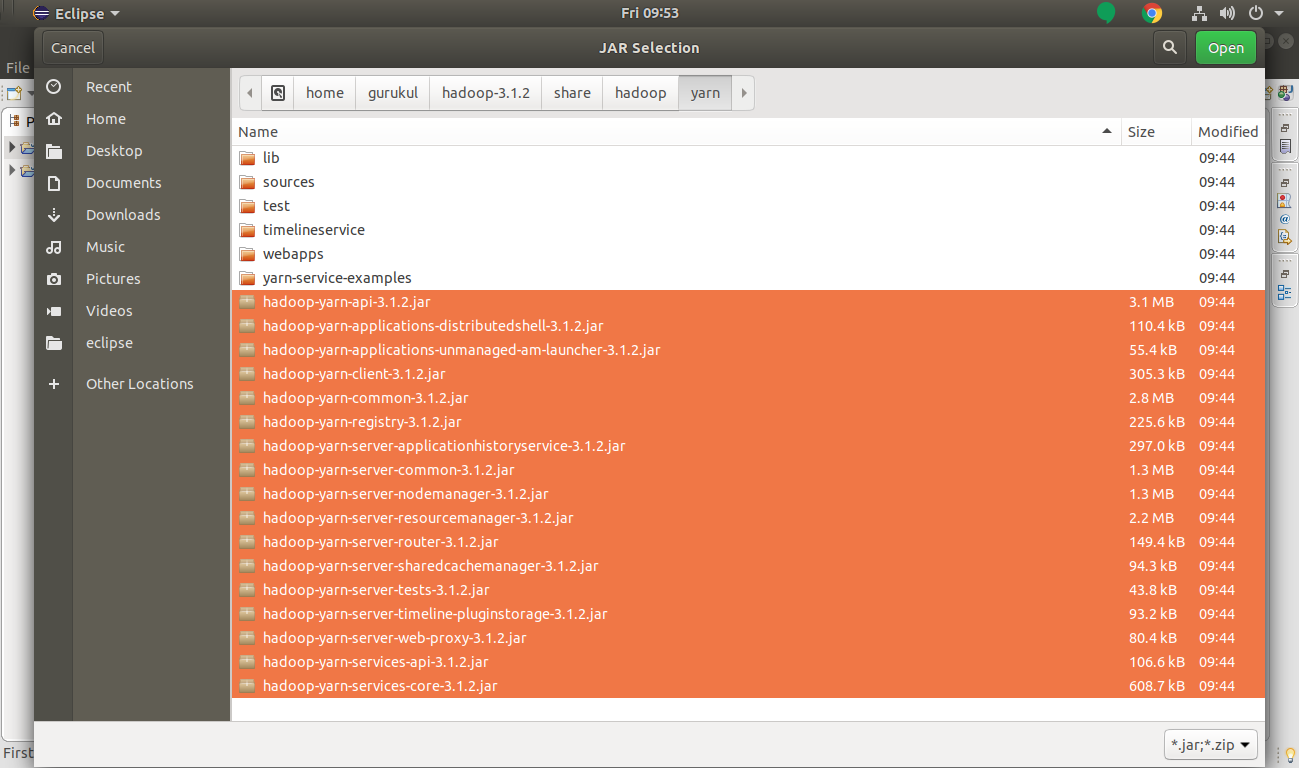
C. Add yarn jar files.
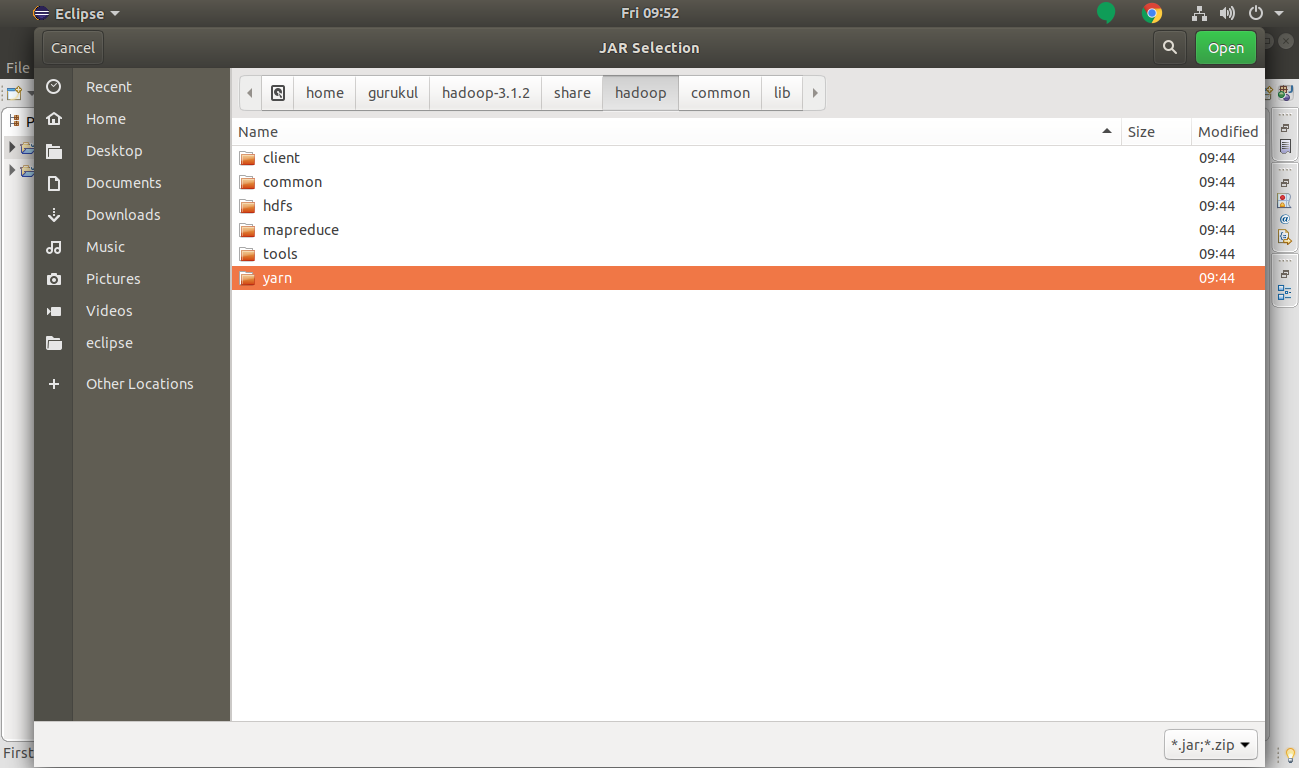
Select yarn jar files and then select Open.
D. Add MapReduce jar files.
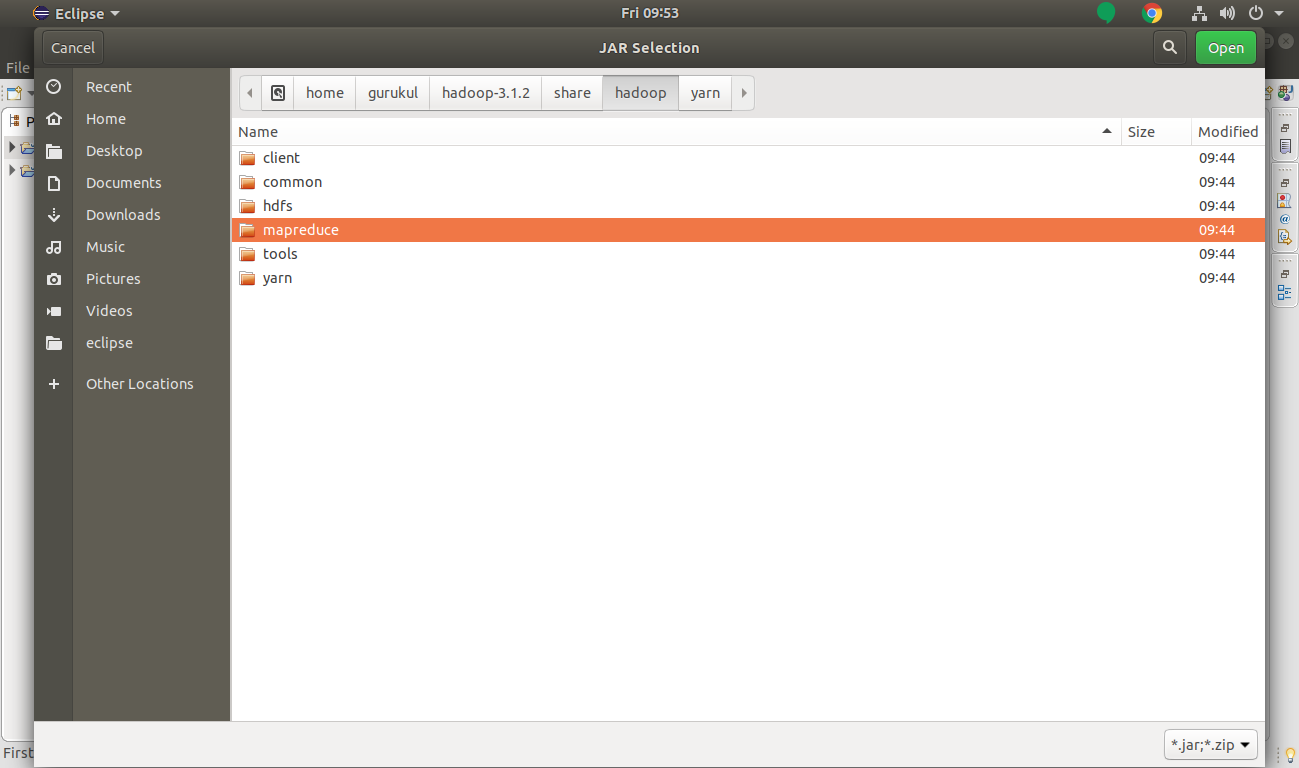
Select MapReduce jar files.
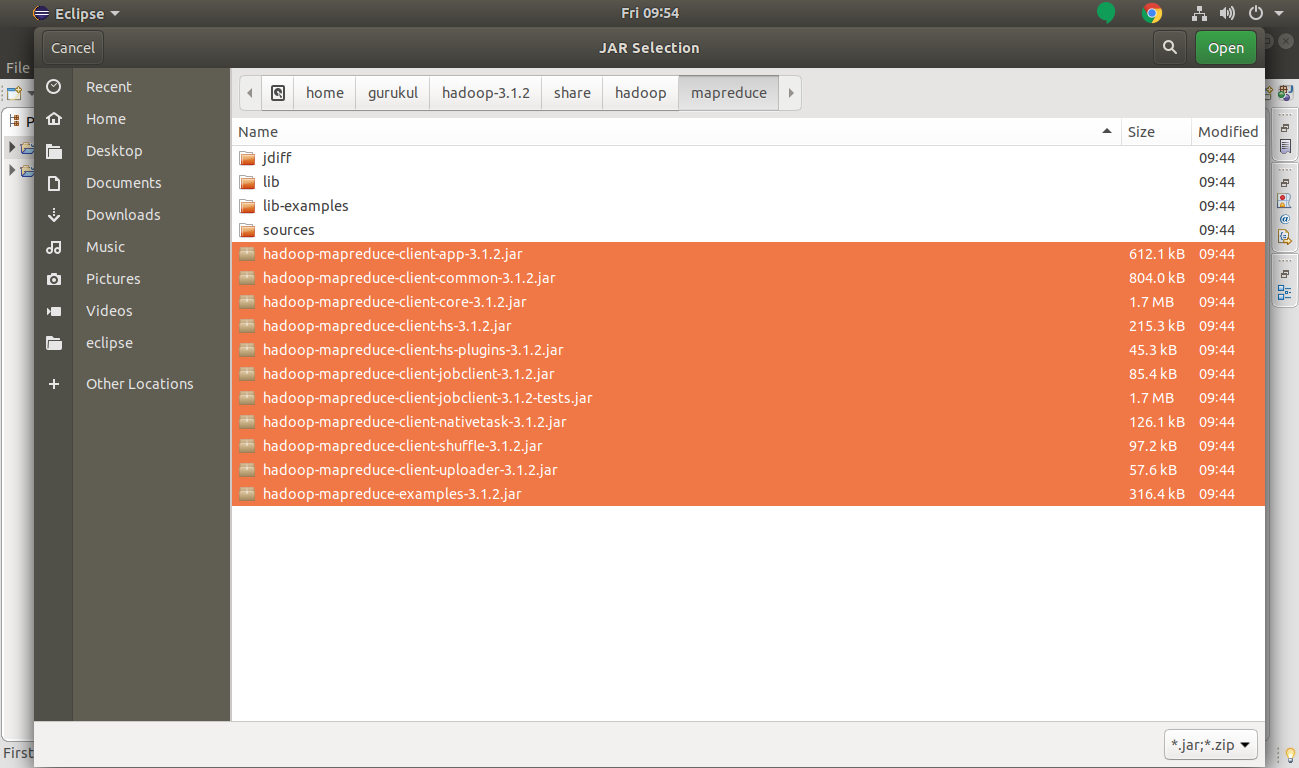
Click Open.
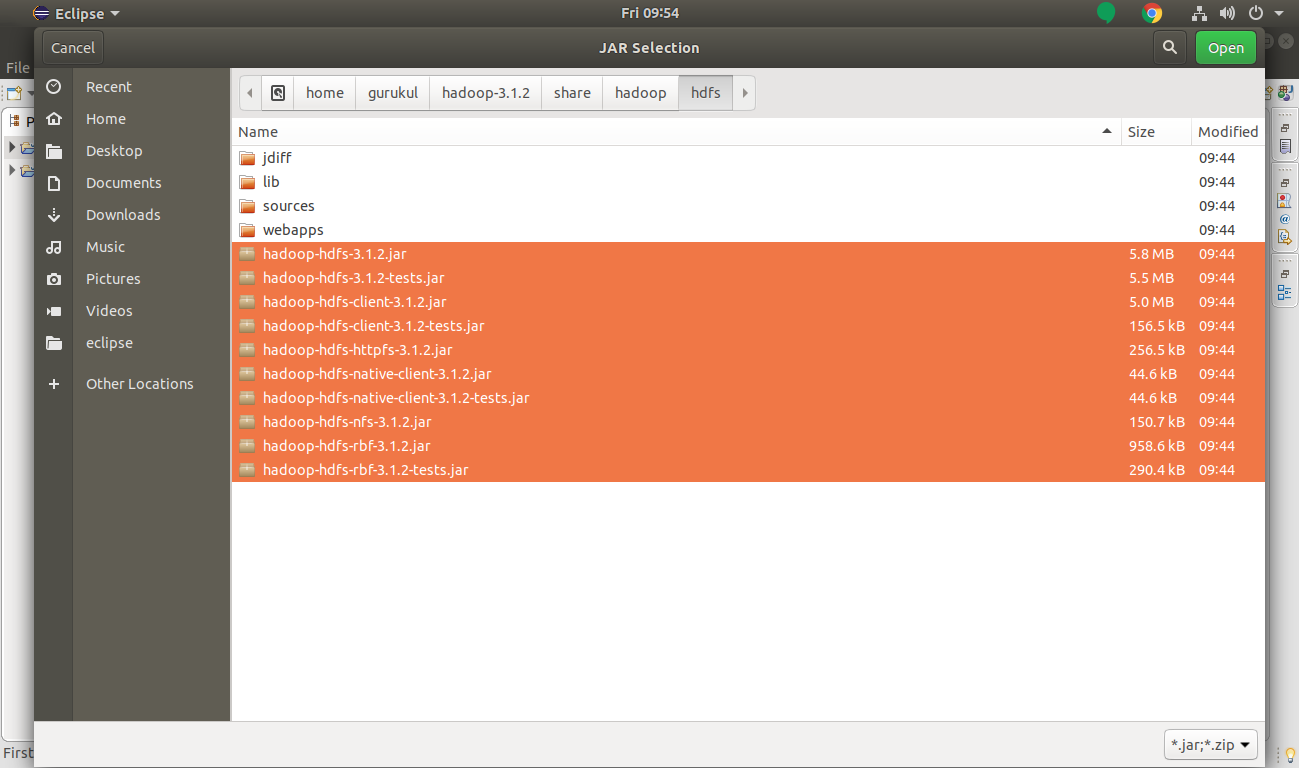
E. Add HDFS jar files.
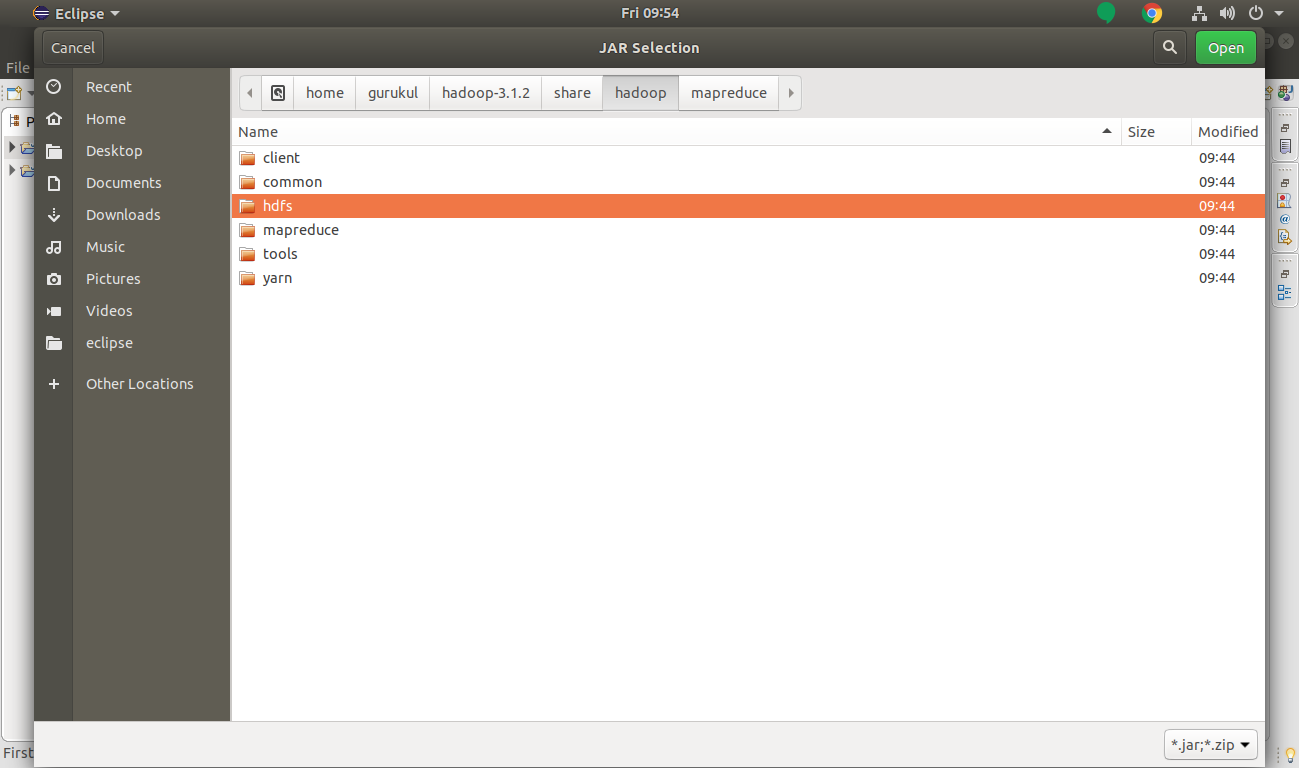
Select HDFS jar files and click Open.
Click on Apply and Close to add all the Hadoop jar files.
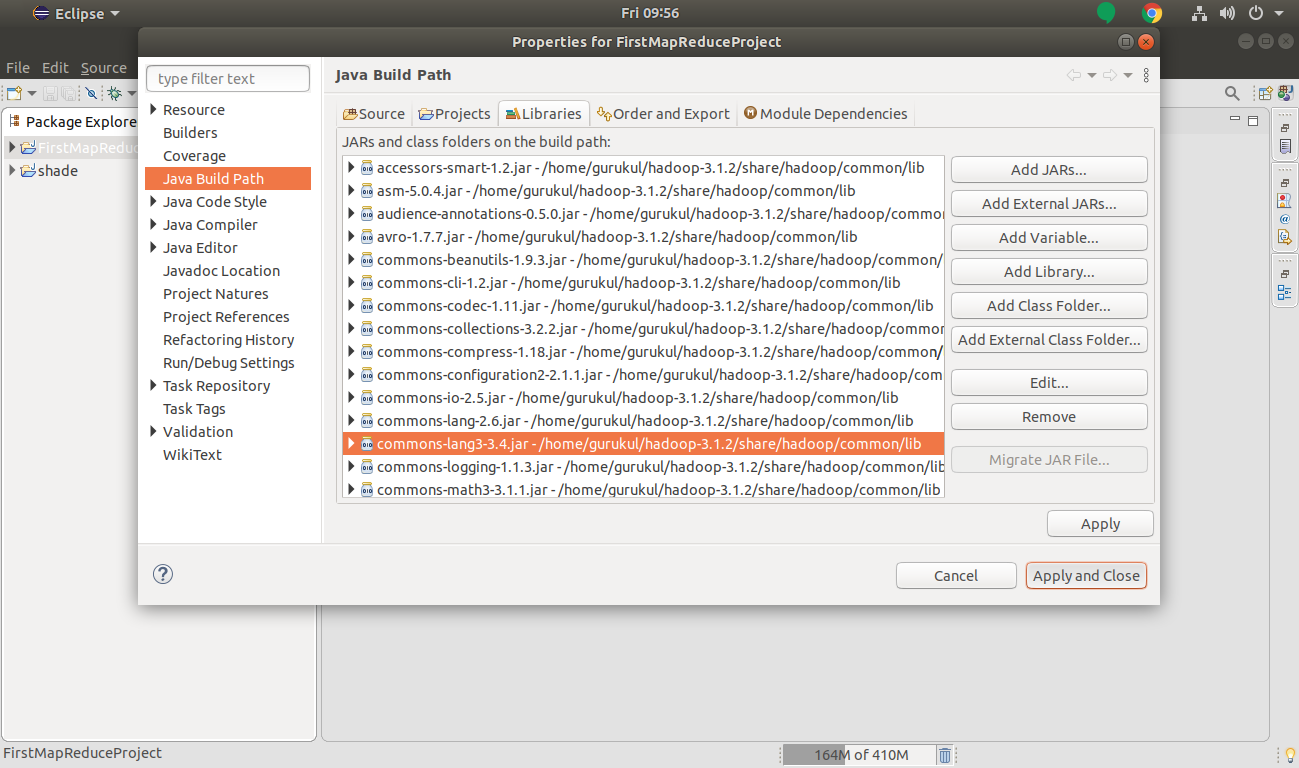
At present, we have added all required jar files in our project.
Step 5. Now create a new grade that performs the map job.
Here in this commodity, WordCountMapper is the class for performing the mapping task.
Correct-Click on Bundle Name >> New >> Class
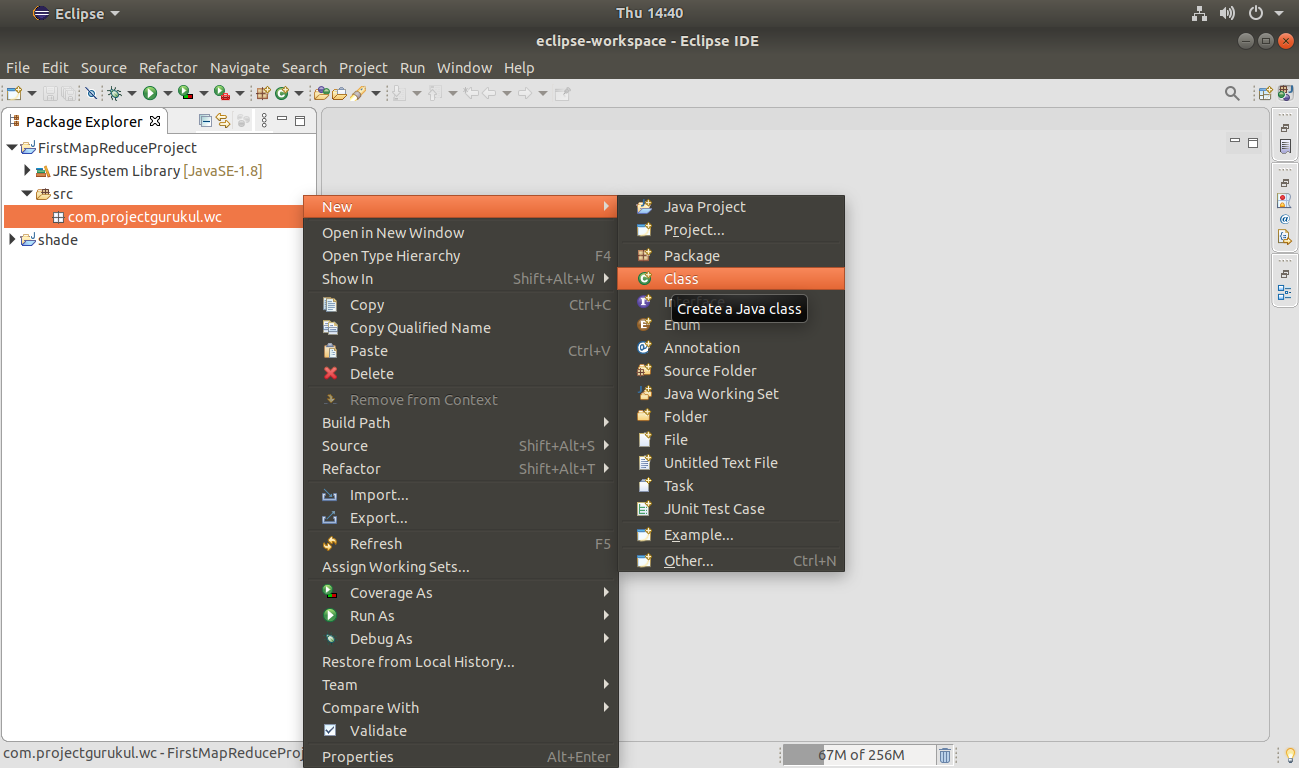
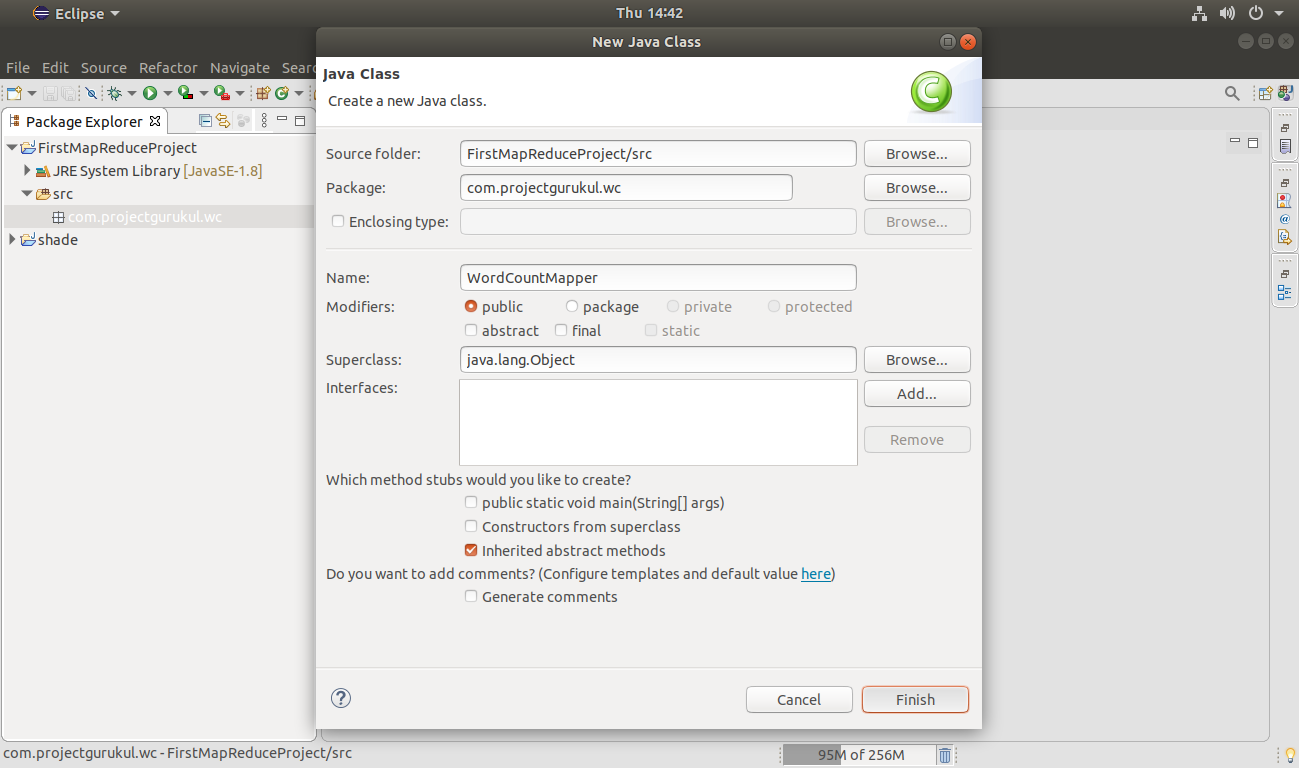
Provide the class proper name:
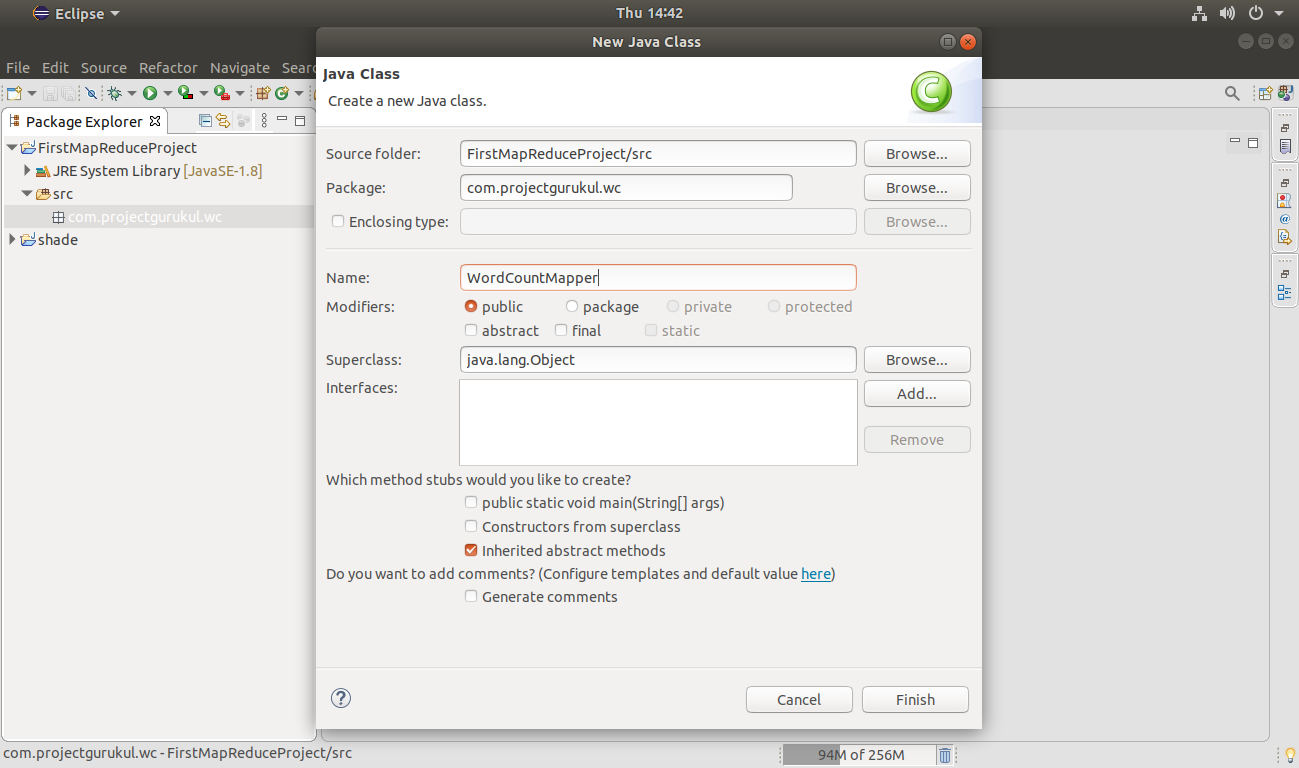
Click Cease.
Step six. Re-create the below code in your class created above for the mapper.
package com.projectgurukul.wc; import java.io.IOException; import java.util.StringTokenizer; import org.apache.hadoop.io.IntWritable; import org.apache.hadoop.io.Text; import org.apache.hadoop.mapreduce.Mapper; import org.apache.hadoop.io.LongWritable; public class WordCountMapper extends Mapper <LongWritable, Text, Text, IntWritable> { private Text wordToken = new Text(); public void map(LongWritable cardinal, Text value, Context context) throws IOException, InterruptedException { StringTokenizer tokens = new StringTokenizer(value.toString()); //Dividing Cord into tokens while (tokens.hasMoreTokens()) { wordToken.ready(tokens.nextToken()); context.write(wordToken, new IntWritable(i)); } } }
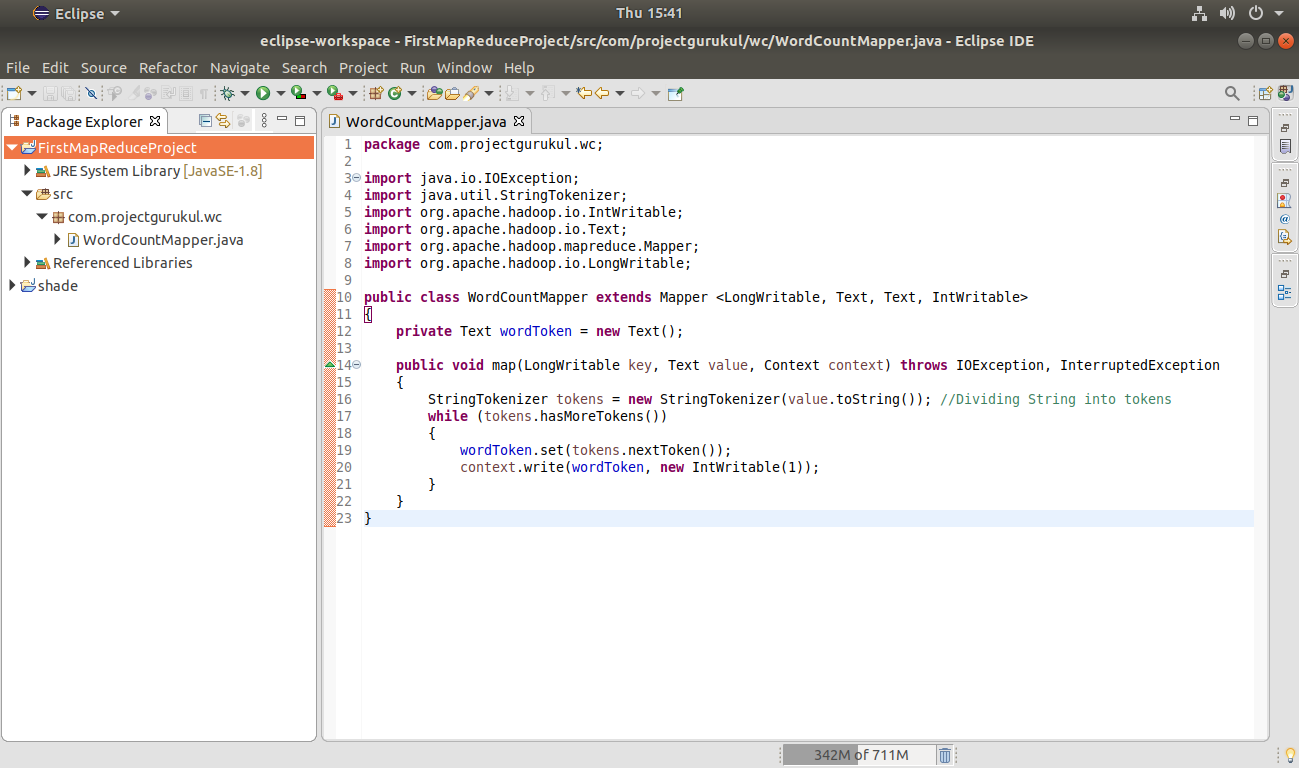
Press Ctrl+South to relieve the lawmaking.
Footstep vii. At present create another form (in the same manner every bit we used above), for creating a class that performs the reduce job.
Here in this commodity, WordCountReducer is the class to perform the reduce job.
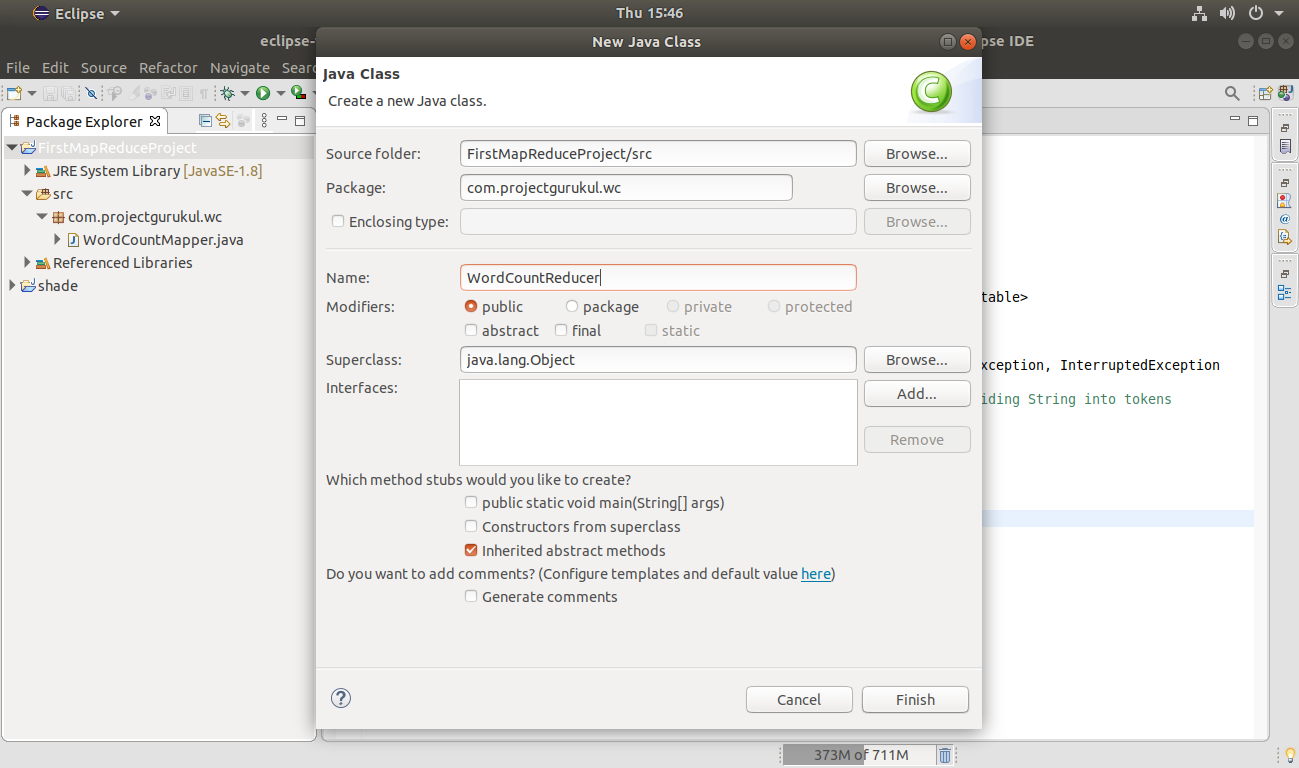
Click Finish.
Step 8. Re-create the below code in your class created higher up for the reducer.
package com.projectgurukul.wc; import java.io.IOException; import org.apache.hadoop.io.IntWritable; import org.apache.hadoop.io.Text; import org.apache.hadoop.mapreduce.Reducer; public class WordCountReducer extends Reducer <Text, IntWritable, Text, IntWritable> { private IntWritable count = new IntWritable(); public void reduce(Text fundamental, Iterable<IntWritable> values, Context context) throws IOException, InterruptedException { // gurukul [one 1 ane 1 1 i….] int valueSum = 0; for (IntWritable val : values) { valueSum += val.get(); } count.set(valueSum); context.write(central, count); } }
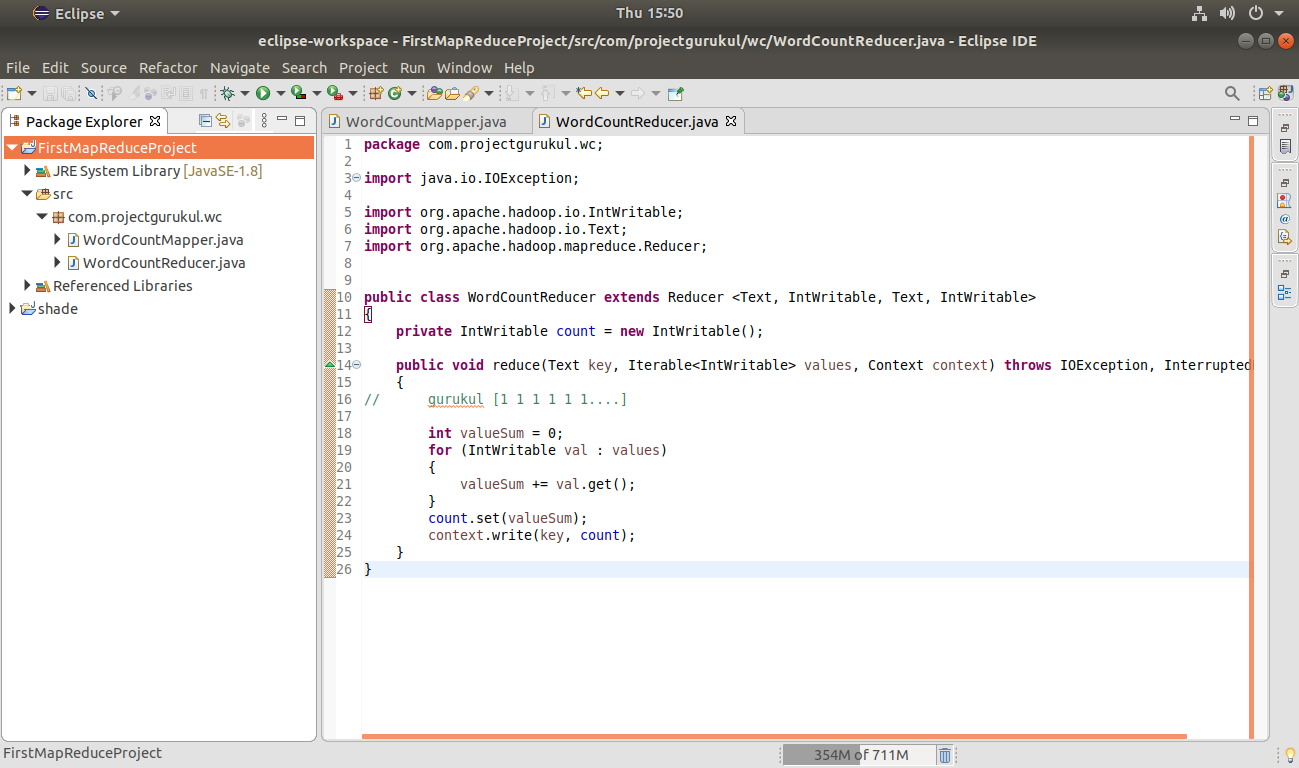
Printing Ctrl+South to relieve the code.
Step 9. Now create the driver class, which contains the master method. Here in this article, the driver form for the project is named "WordCount".
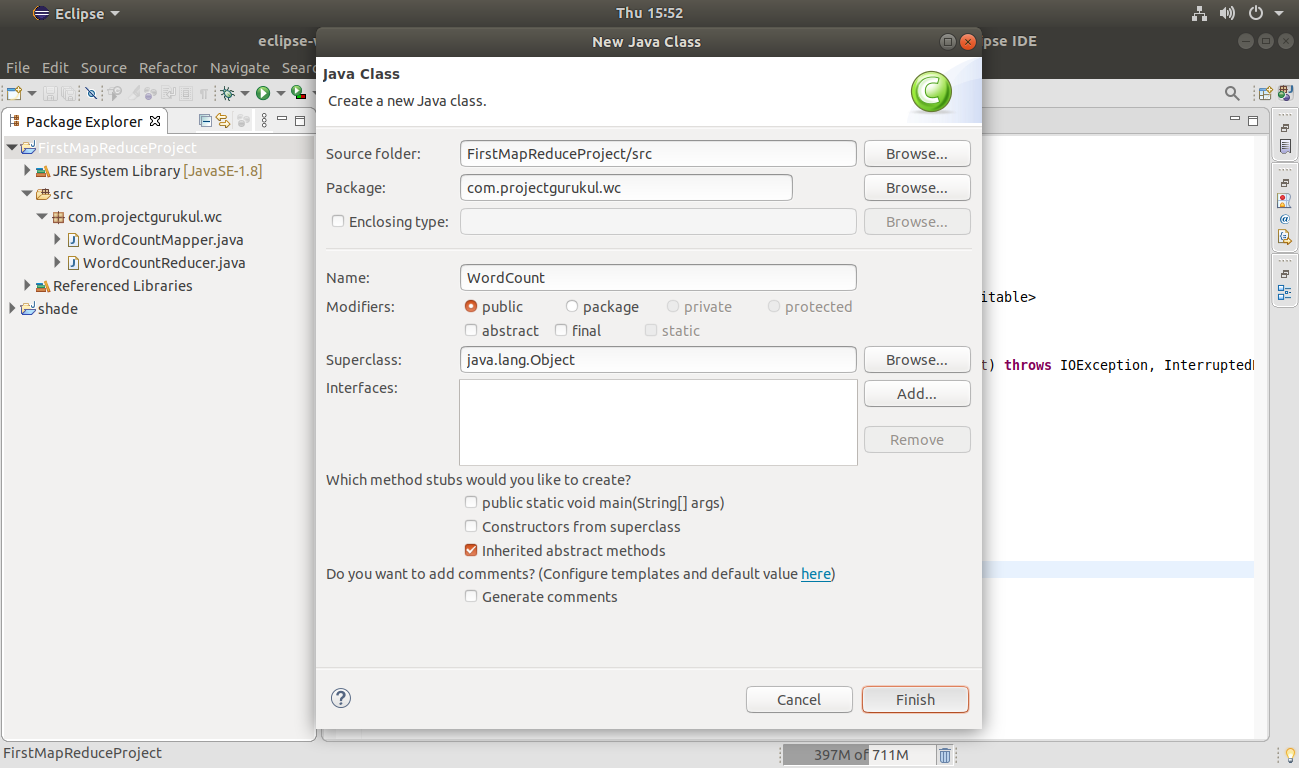
Click End.
Step x. Copy the below code in your commuter class, which contains the main method.
package com.projectgurukul.wc; import org.apache.hadoop.conf.Configuration; import org.apache.hadoop.fs.Path; import org.apache.hadoop.io.IntWritable; import org.apache.hadoop.io.Text; import org.apache.hadoop.mapreduce.Chore; import org.apache.hadoop.mapreduce.lib.input.FileInputFormat; import org.apache.hadoop.mapreduce.lib.output.FileOutputFormat; import org.apache.hadoop.util.GenericOptionsParser; public grade WordCount { public static void main(Cord[] args) throws Exception { Configuration conf = new Configuration(); String[] pathArgs = new GenericOptionsParser(conf, args).getRemainingArgs(); if (pathArgs.length < 2) { Organisation.err.println("MR Project Usage: wordcount <input-path> […] <output-path>"); Arrangement.get out(2); } Job wcJob = Task.getInstance(conf, "MapReduce WordCount"); wcJob.setJarByClass(WordCount.grade); wcJob.setMapperClass(WordCountMapper.class); wcJob.setCombinerClass(WordCountReducer.class); wcJob.setReducerClass(WordCountReducer.grade); wcJob.setOutputKeyClass(Text.class); wcJob.setOutputValueClass(IntWritable.class); for (int i = 0; i < pathArgs.length — one; ++i) { FileInputFormat.addInputPath(wcJob, new Path(pathArgs[i])); } FileOutputFormat.setOutputPath(wcJob, new Path(pathArgs[pathArgs.length — ane])); Organisation.exit(wcJob.waitForCompletion(true) ? 0 : 1); } }
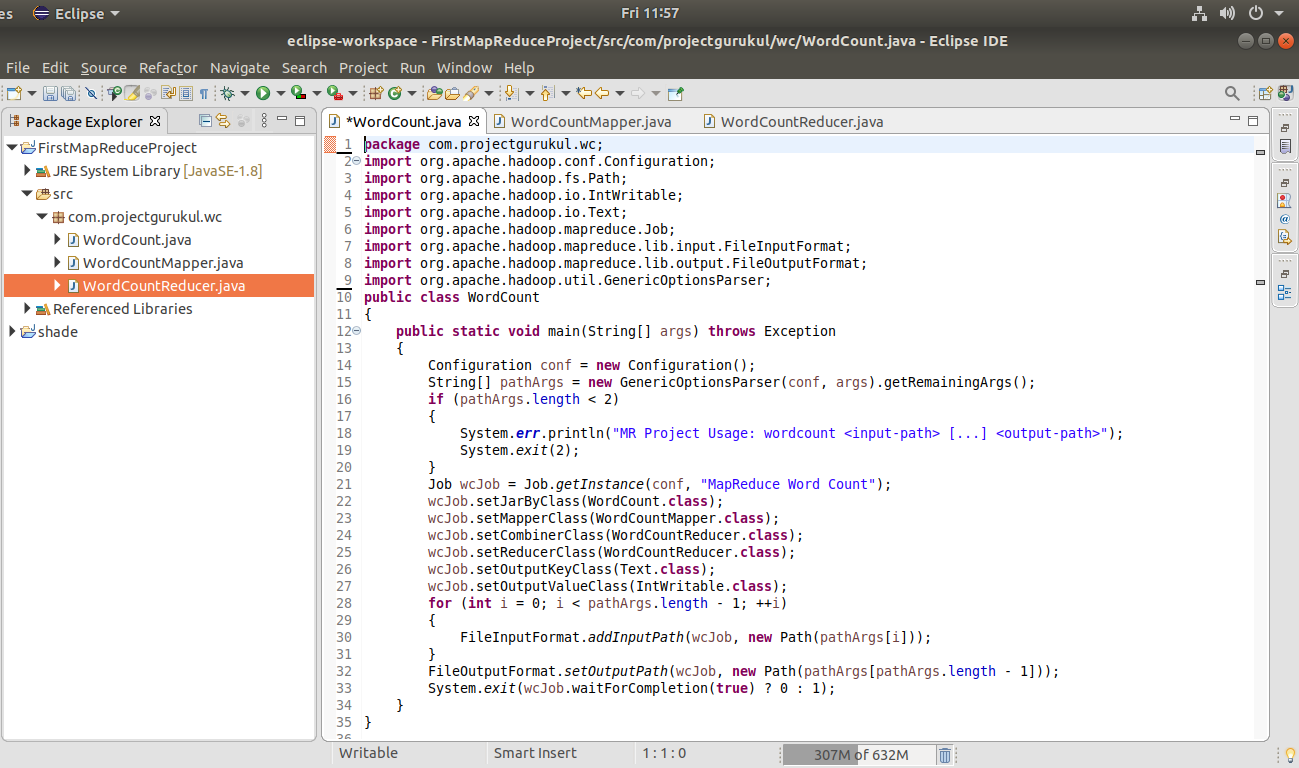
Press Ctrl+S to save the Lawmaking.
Pace xi. Creating the Jar File of the Project
Before running created Hadoop MapReduce word count application, we take to create a jar file.
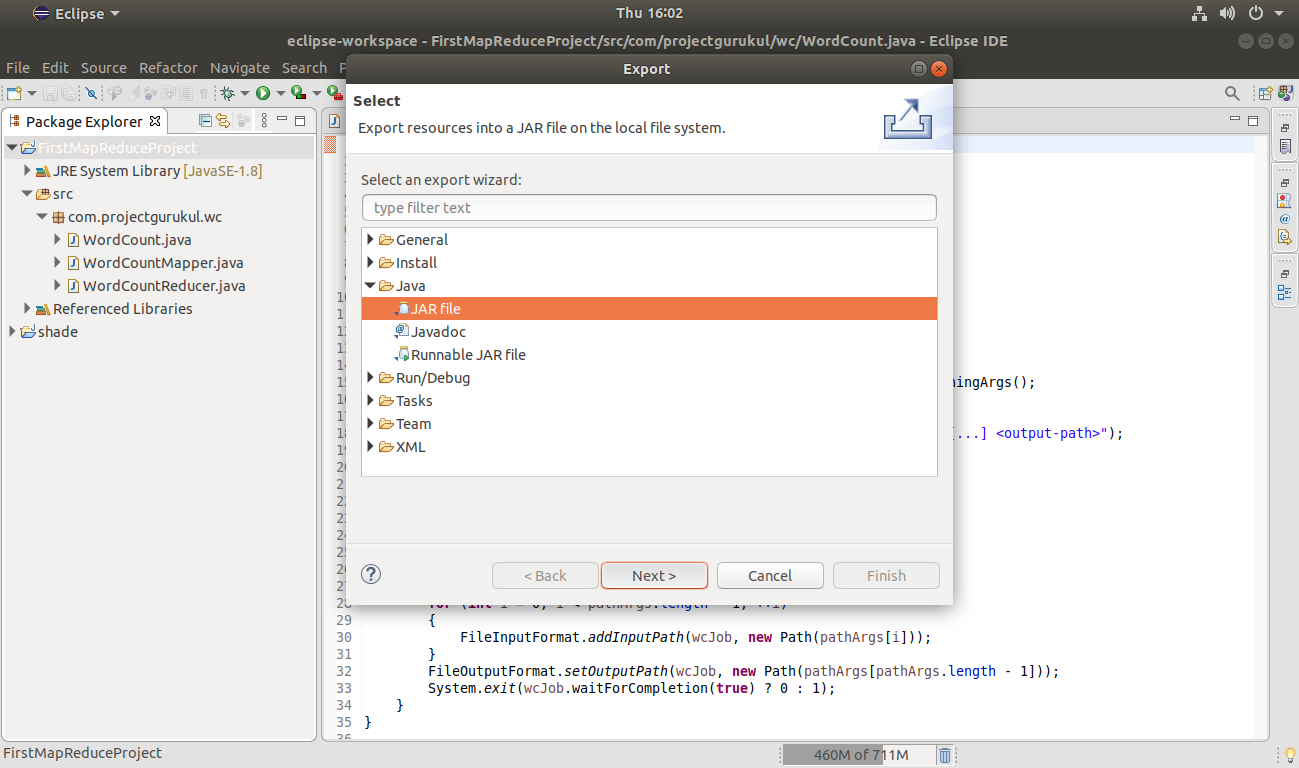
To practise so Right-click on project name >> Consign.

Select the JAR file option. Click Next.
Provide the Jar file name:
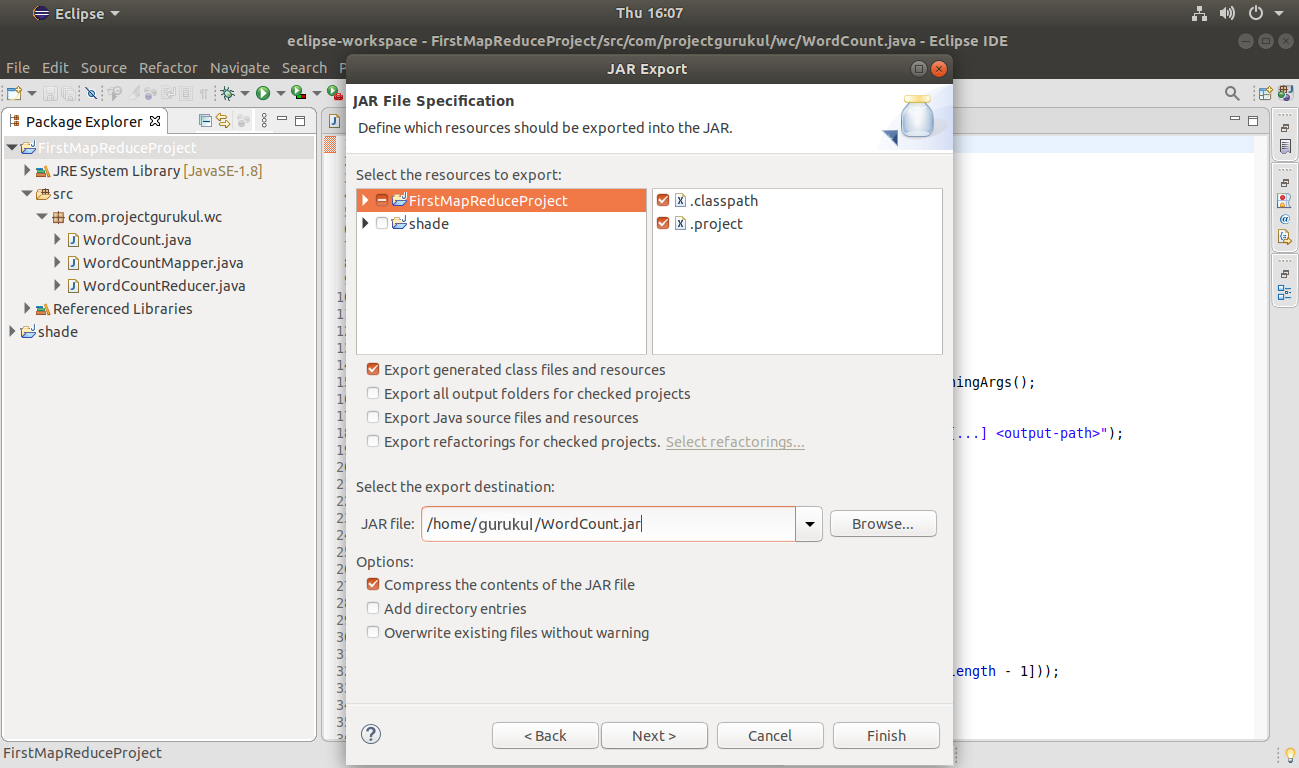
Click Next.
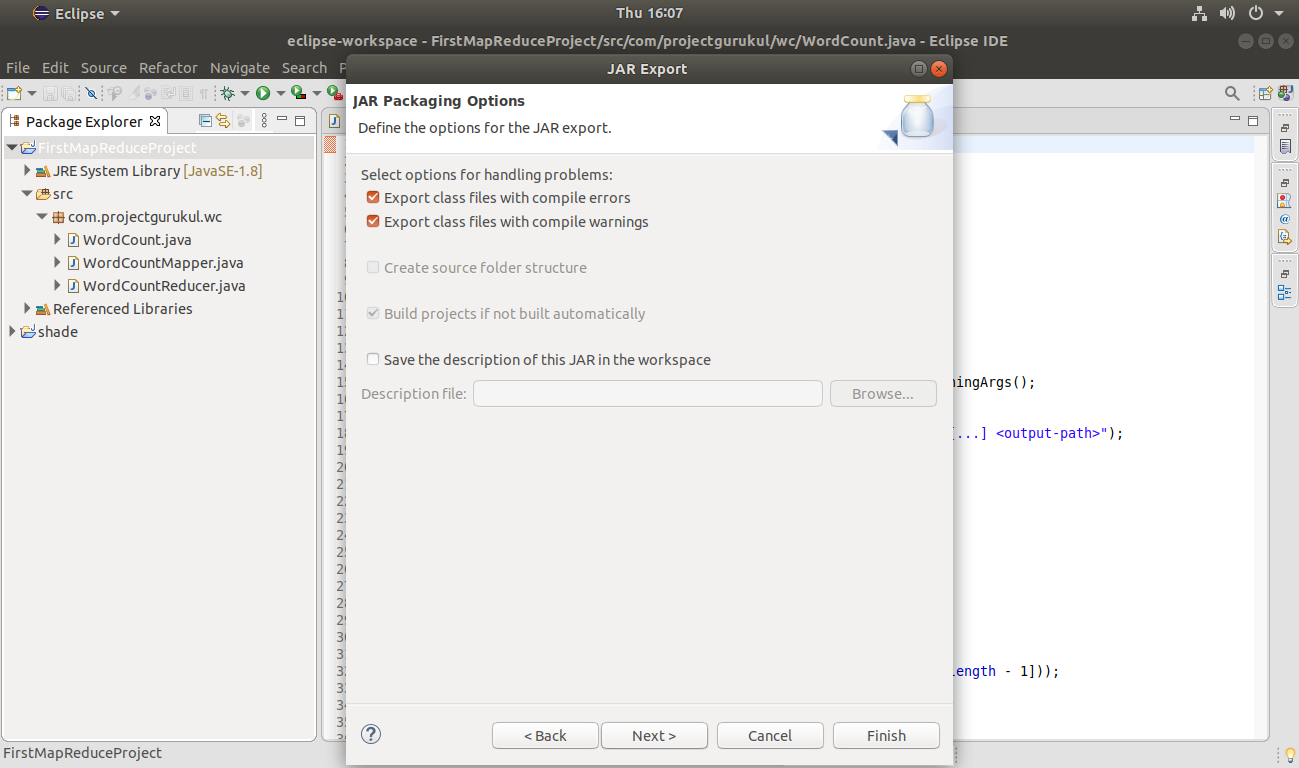
Click Next.
At present select the class of the awarding entry point.
Here in this Hadoop MapReduce Projection commodity, the class for the application entry point is the WordCount class.
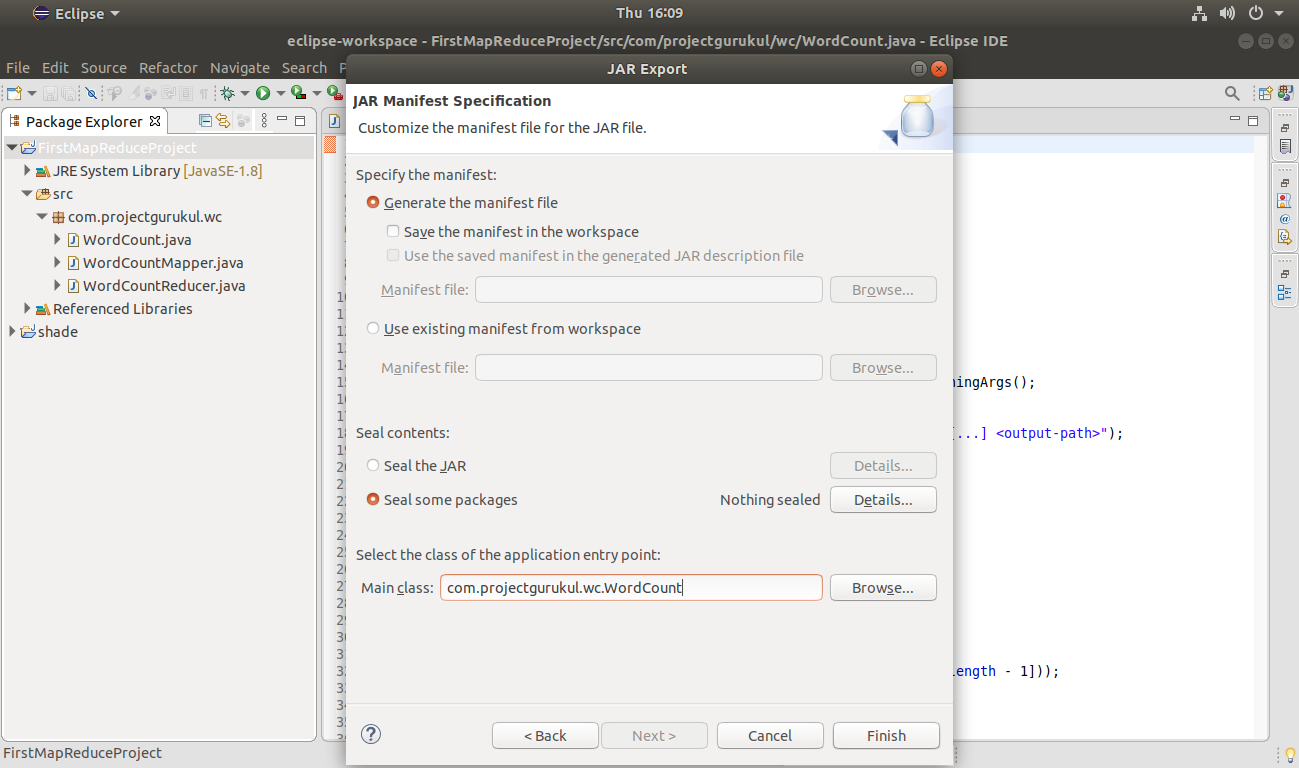
Click End.
Step 12. Execute the Hadoop MapReduce give-and-take count application using the below execution command.
hadoop jar <project jar file path> <input file path> <output directory> hadoop jar /home/gurukul/WordCount.jar /wc_input /wc_output
Here in this control,
- <project jar file path> is the path of the jar file of the projection created above.
- <input file path> is the file in HDFS, which is input to the Hadoop MapReduce Give-and-take Count Project.
- <output directory> is the directory where the output of the Hadoop MapReduce WordCount program is going to be stored.

This will start the execution of MapReduce task
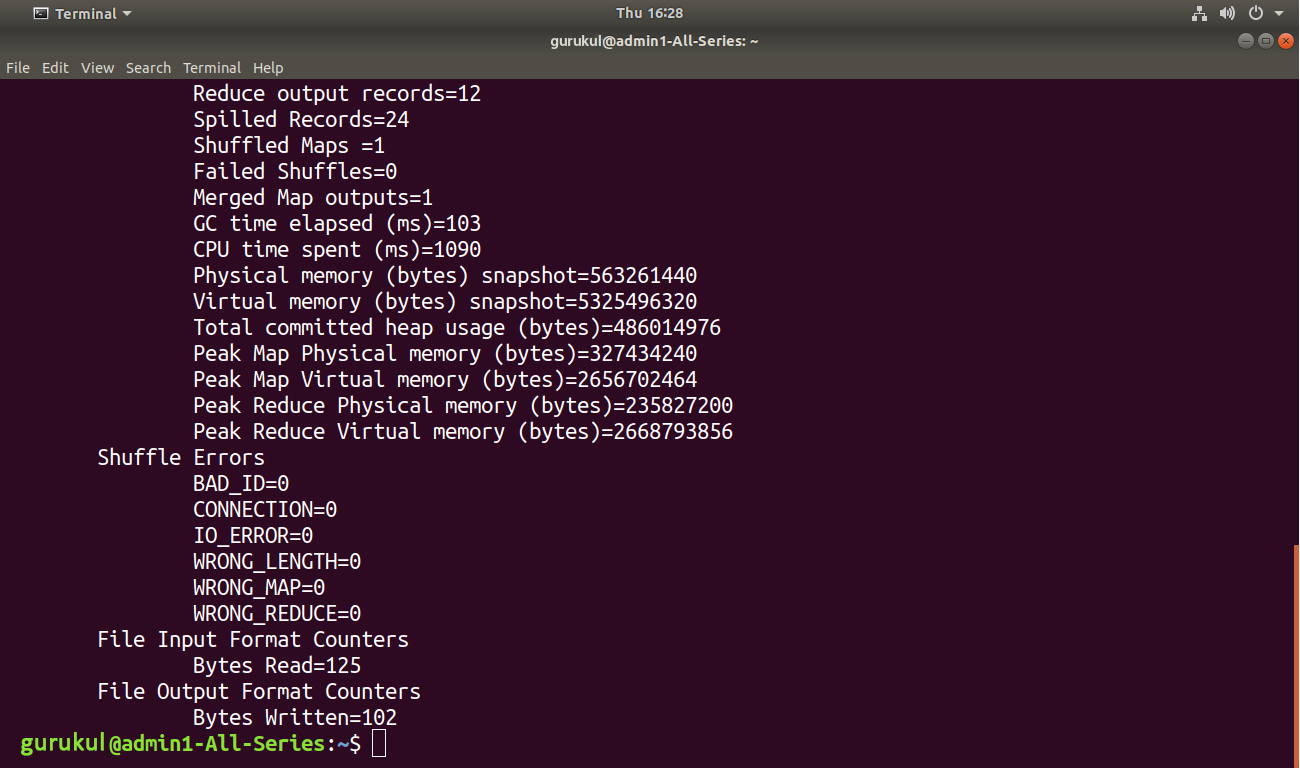
Now we accept run the Map Reduce job successfully. Let us now check the result.
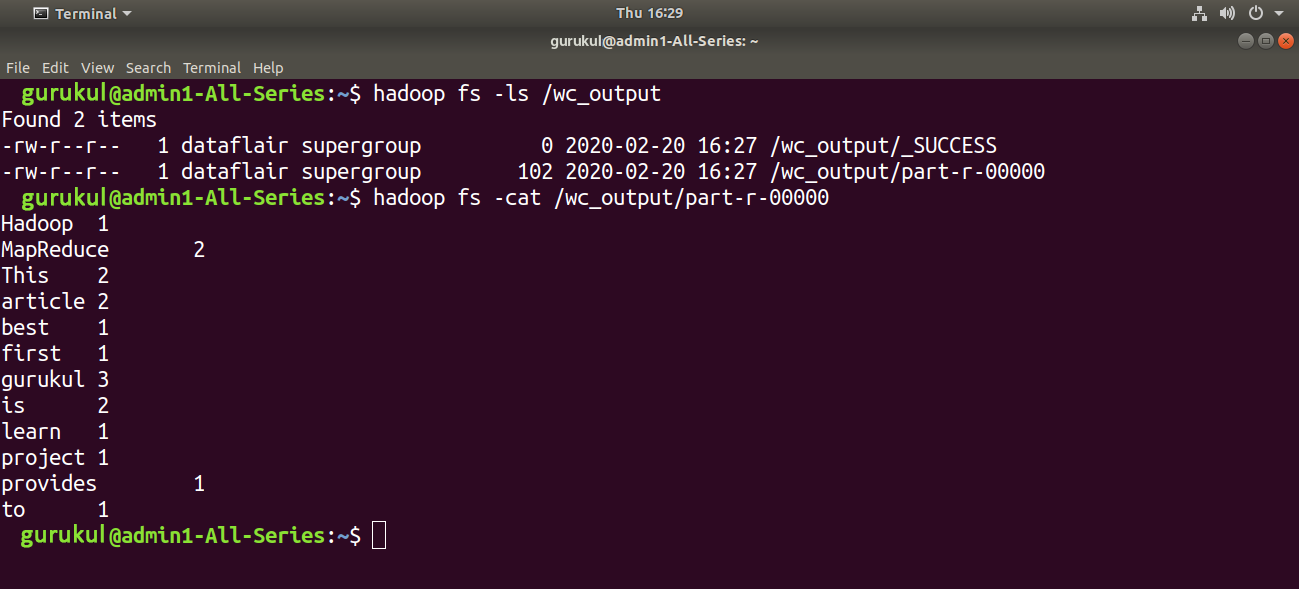
Step thirteen. Scan the Hadoop MapReduce Word Count Project Output.
The output directory of the Project in HDFS contains two files: _SUCCESS and part-r-00000
The output is present in the /part-r-00000 file.
You can browse the issue using the below control.
hadoop fs -cat <output directory/function-r-00000> hadoop fs -true cat /wc_output/part-r-00000
Summary
We have Successfully created the Hadoop MapReduce Project in Java with Eclipse and executed the MapReduce job on Ubuntu.
Source: https://medium.com/data-science-community-srm/create-execute-your-first-hadoop-mapreduce-project-with-eclipse-9ec03105e974
0 Response to "Run Mr Job Upload Jar File to Hdfs"
Post a Comment